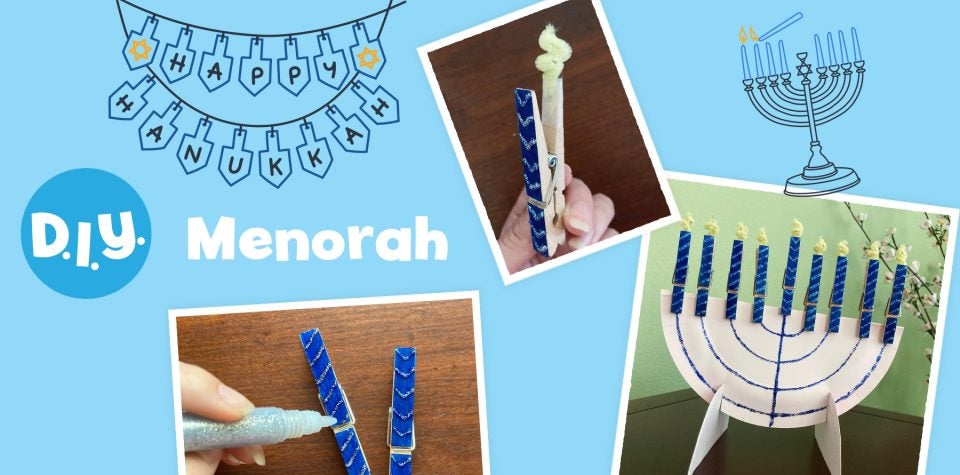
DIY Hanukkah Menorah Craft
Happy Hannukah! Also called the Jewish Festival of Lights, Hannukah is a beloved Jewish holiday centered around family, traditions, and light. The menorah plays a large role in the Hanukkah tradition. Its origins go back to the 2nd century BCE, after the Maccabean revolt. Lighting the menorah candles celebrates and remembers the rededication of the Second Temple of Jerusalem.
A Hanukkah menorah has nine candles: one candle for every night of Hanukkah, and one shammash, or “helper,” candle. This special candle is used to light the other eight candles and sits in the middle of the menorah. During each night of Hanukkah, families light the candles in celebration. They begin by adding one candle on the far right of the menorah, and with every night, another candle is added. On the eighth and final night of Hanukkah, the menorah is full. Your child can be a part of the fun by making this DIY menorah and “lighting” a candle each night!
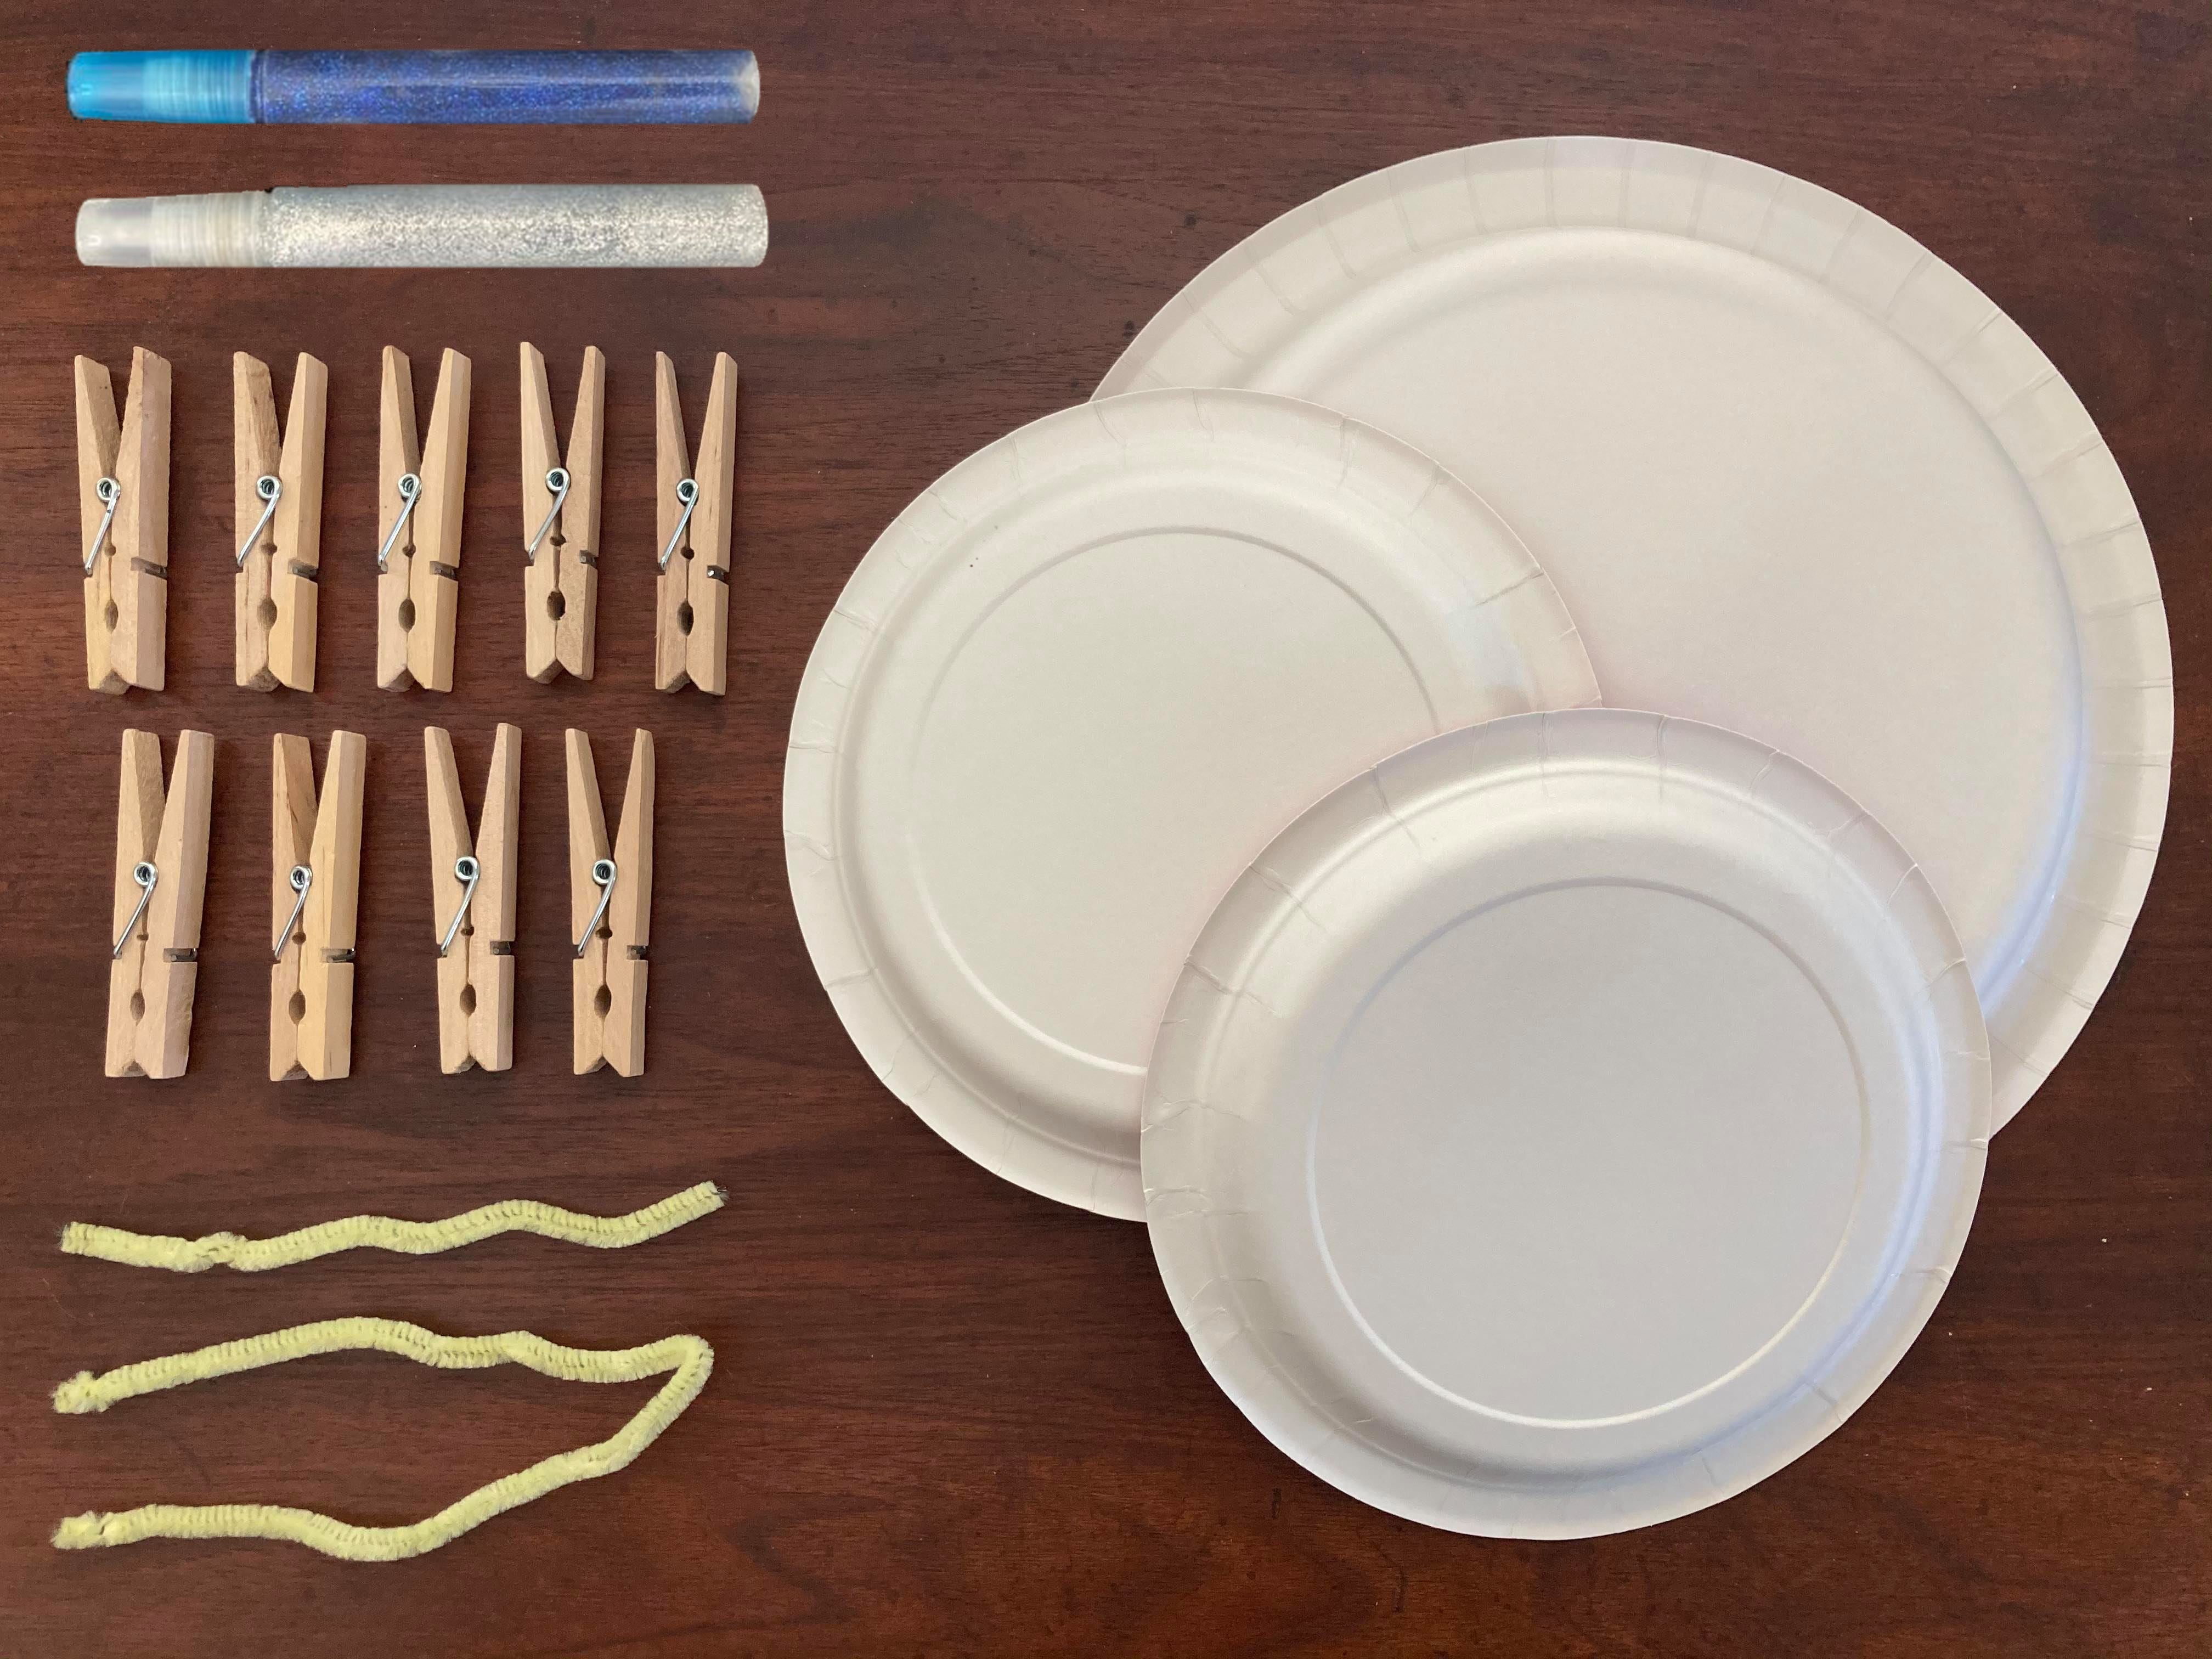
Supplies
- Three sturdy paper plates (one large, two small)
- Nine wooden clothespins
- Two yellow, orange, or red chenille stems
- Blue markers or paint
- Blue and silver glitter glue*
*The traditional Hanukkah colors are blue and silver, symbolizing the flag of Israel. Many menorahs and Hanukkah candles follow this color scheme.
How to Create a DIY Menorah
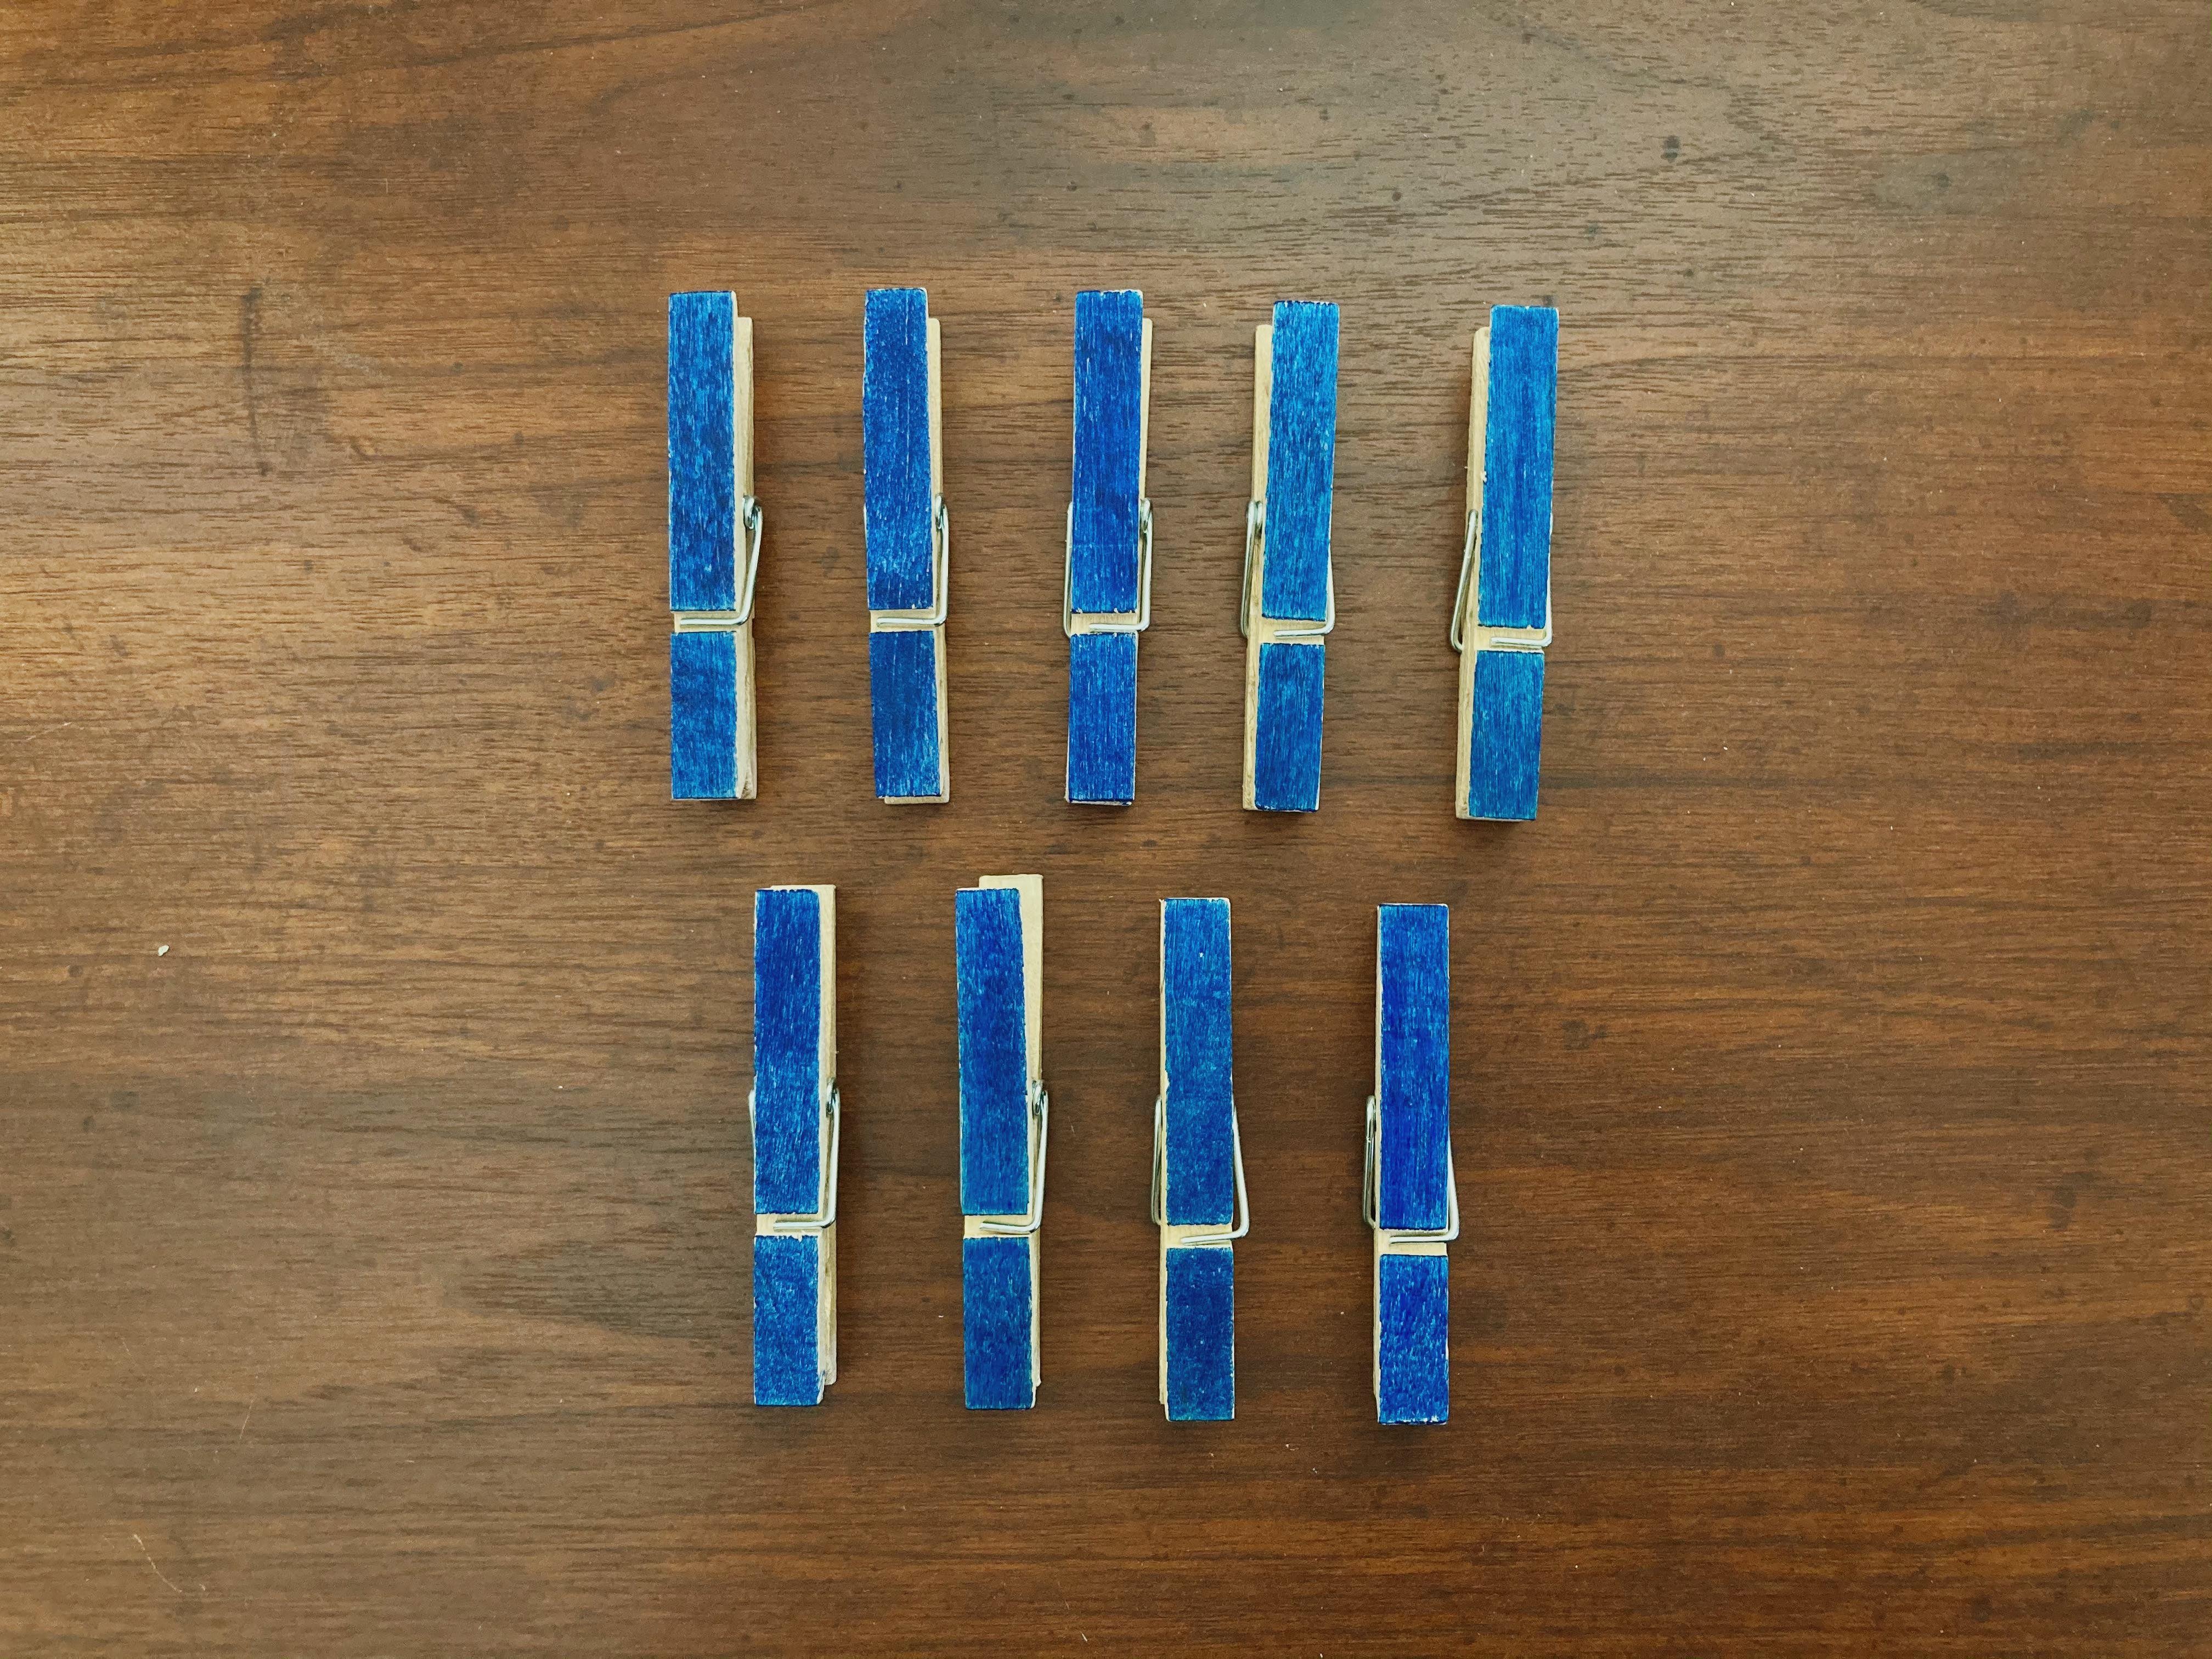
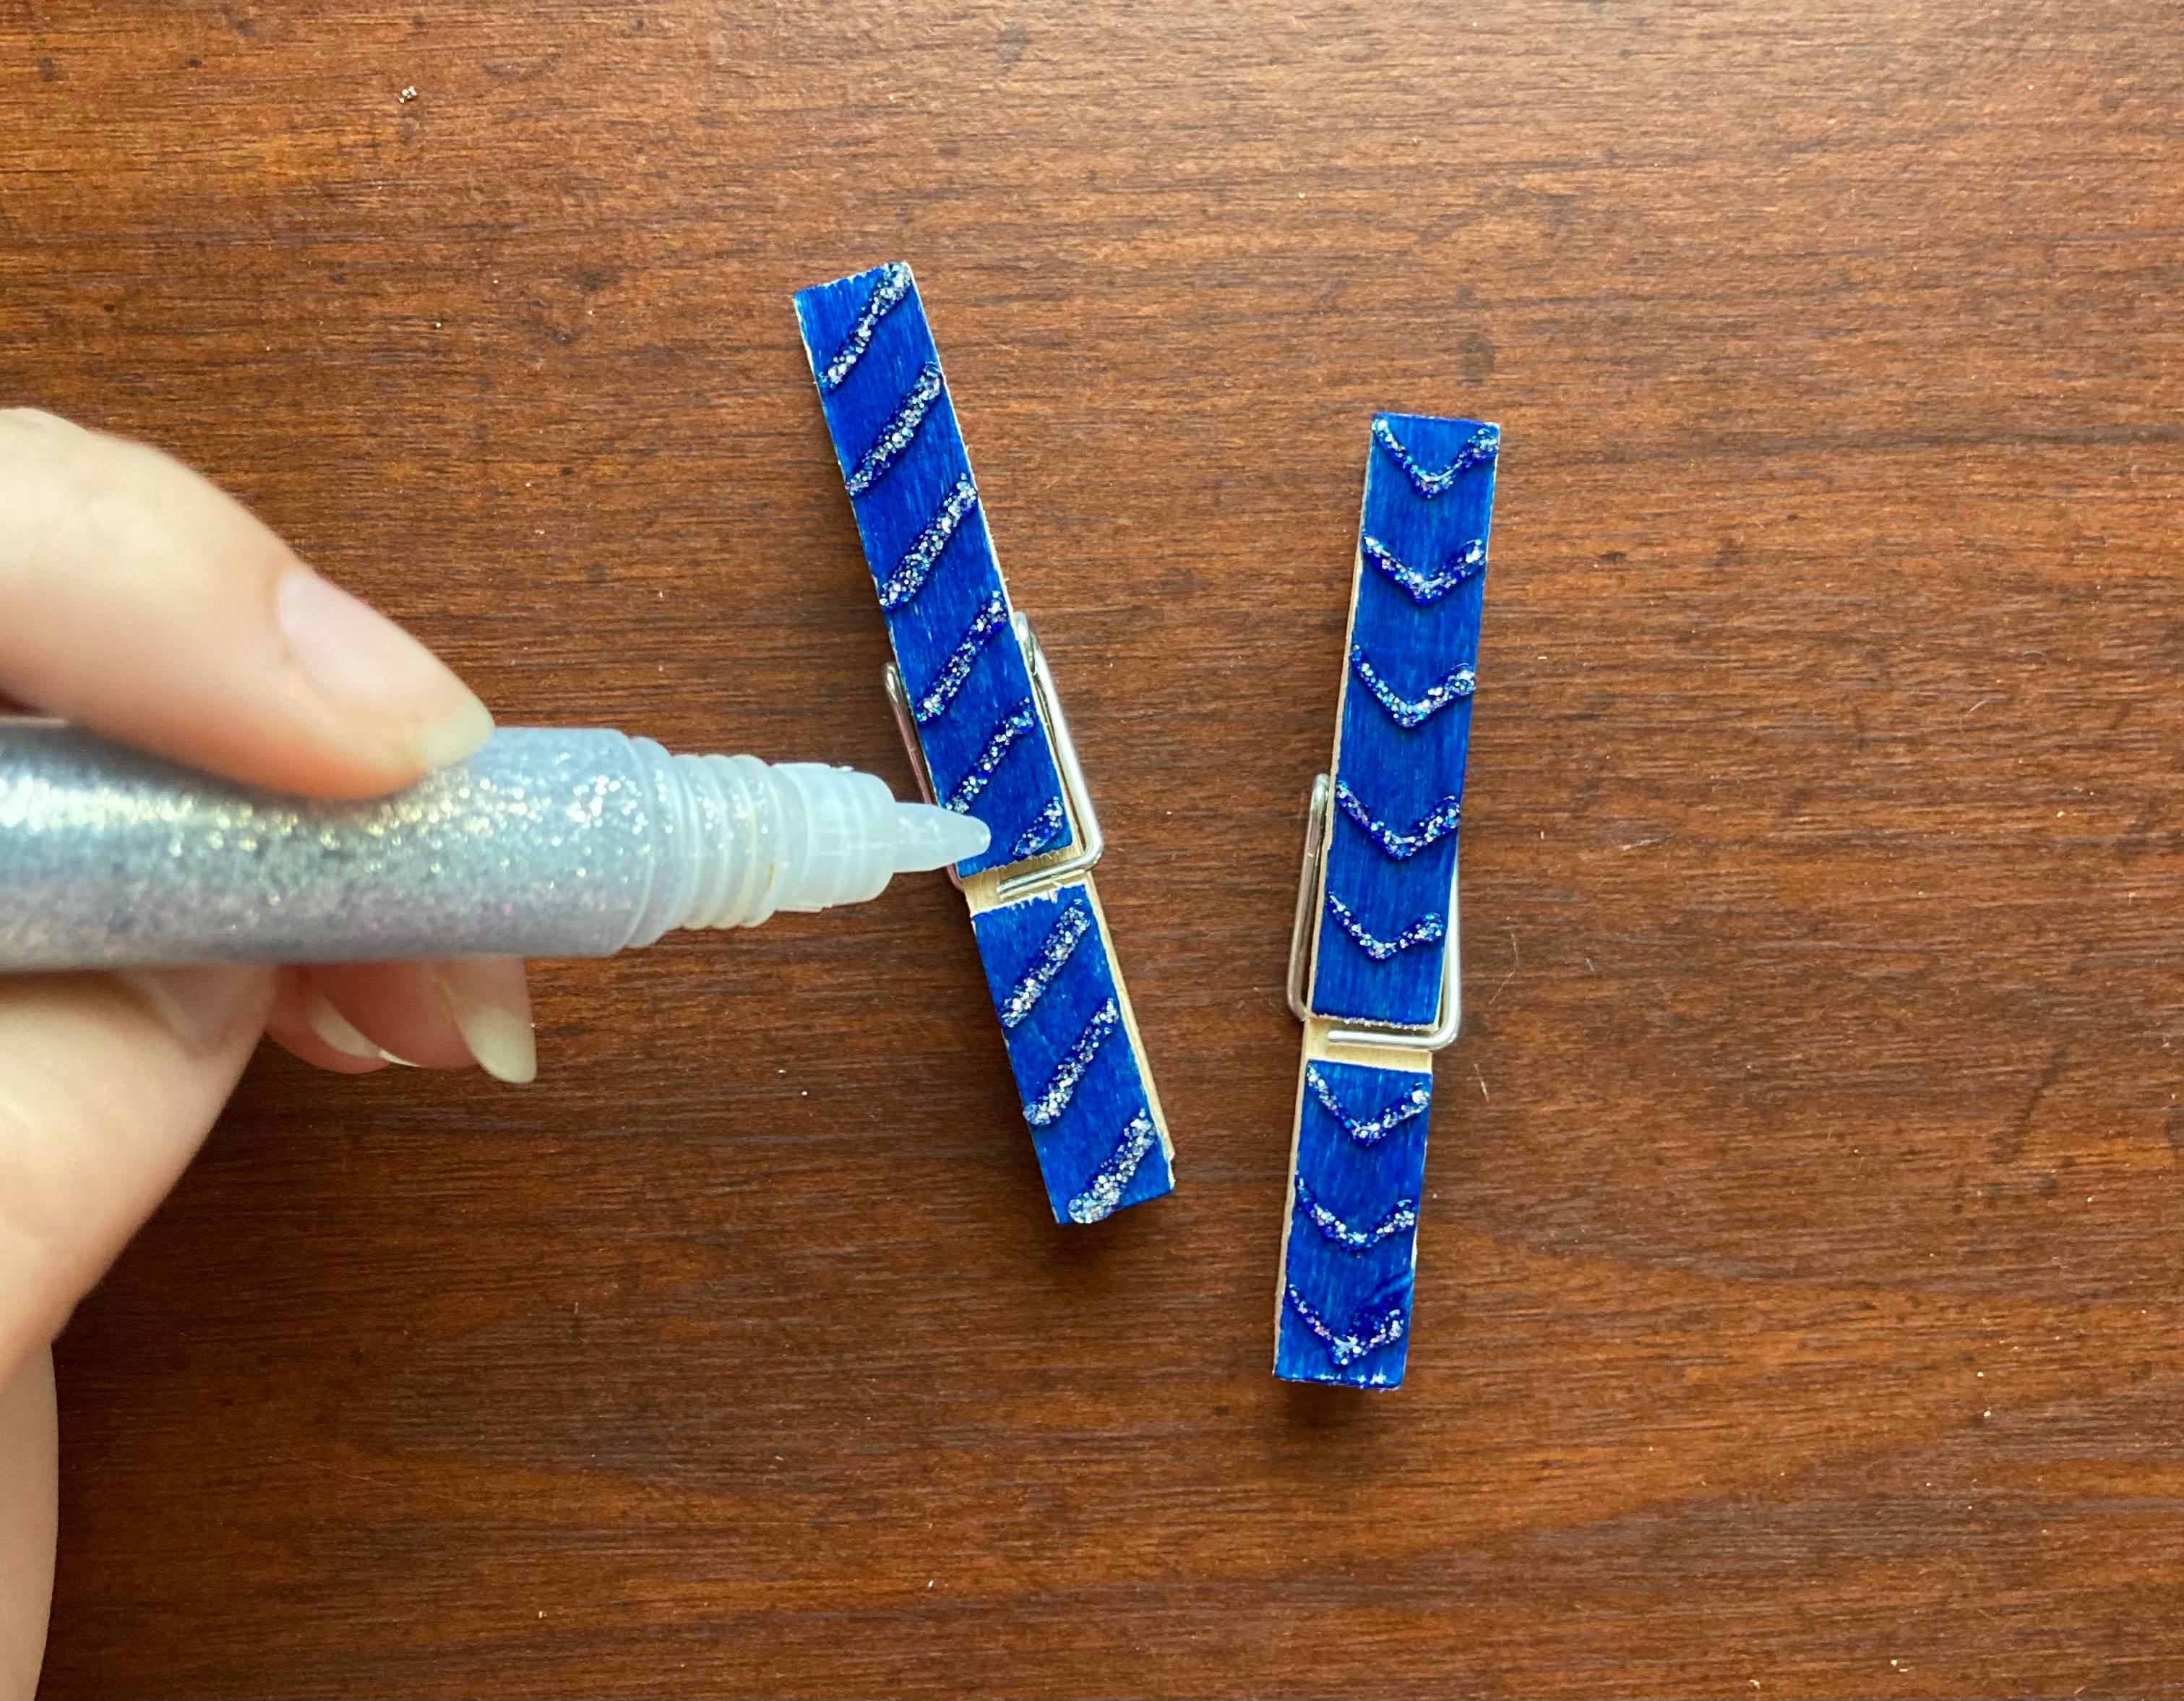
Step 1: Using markers or paint, color each clothespin blue. Set aside.
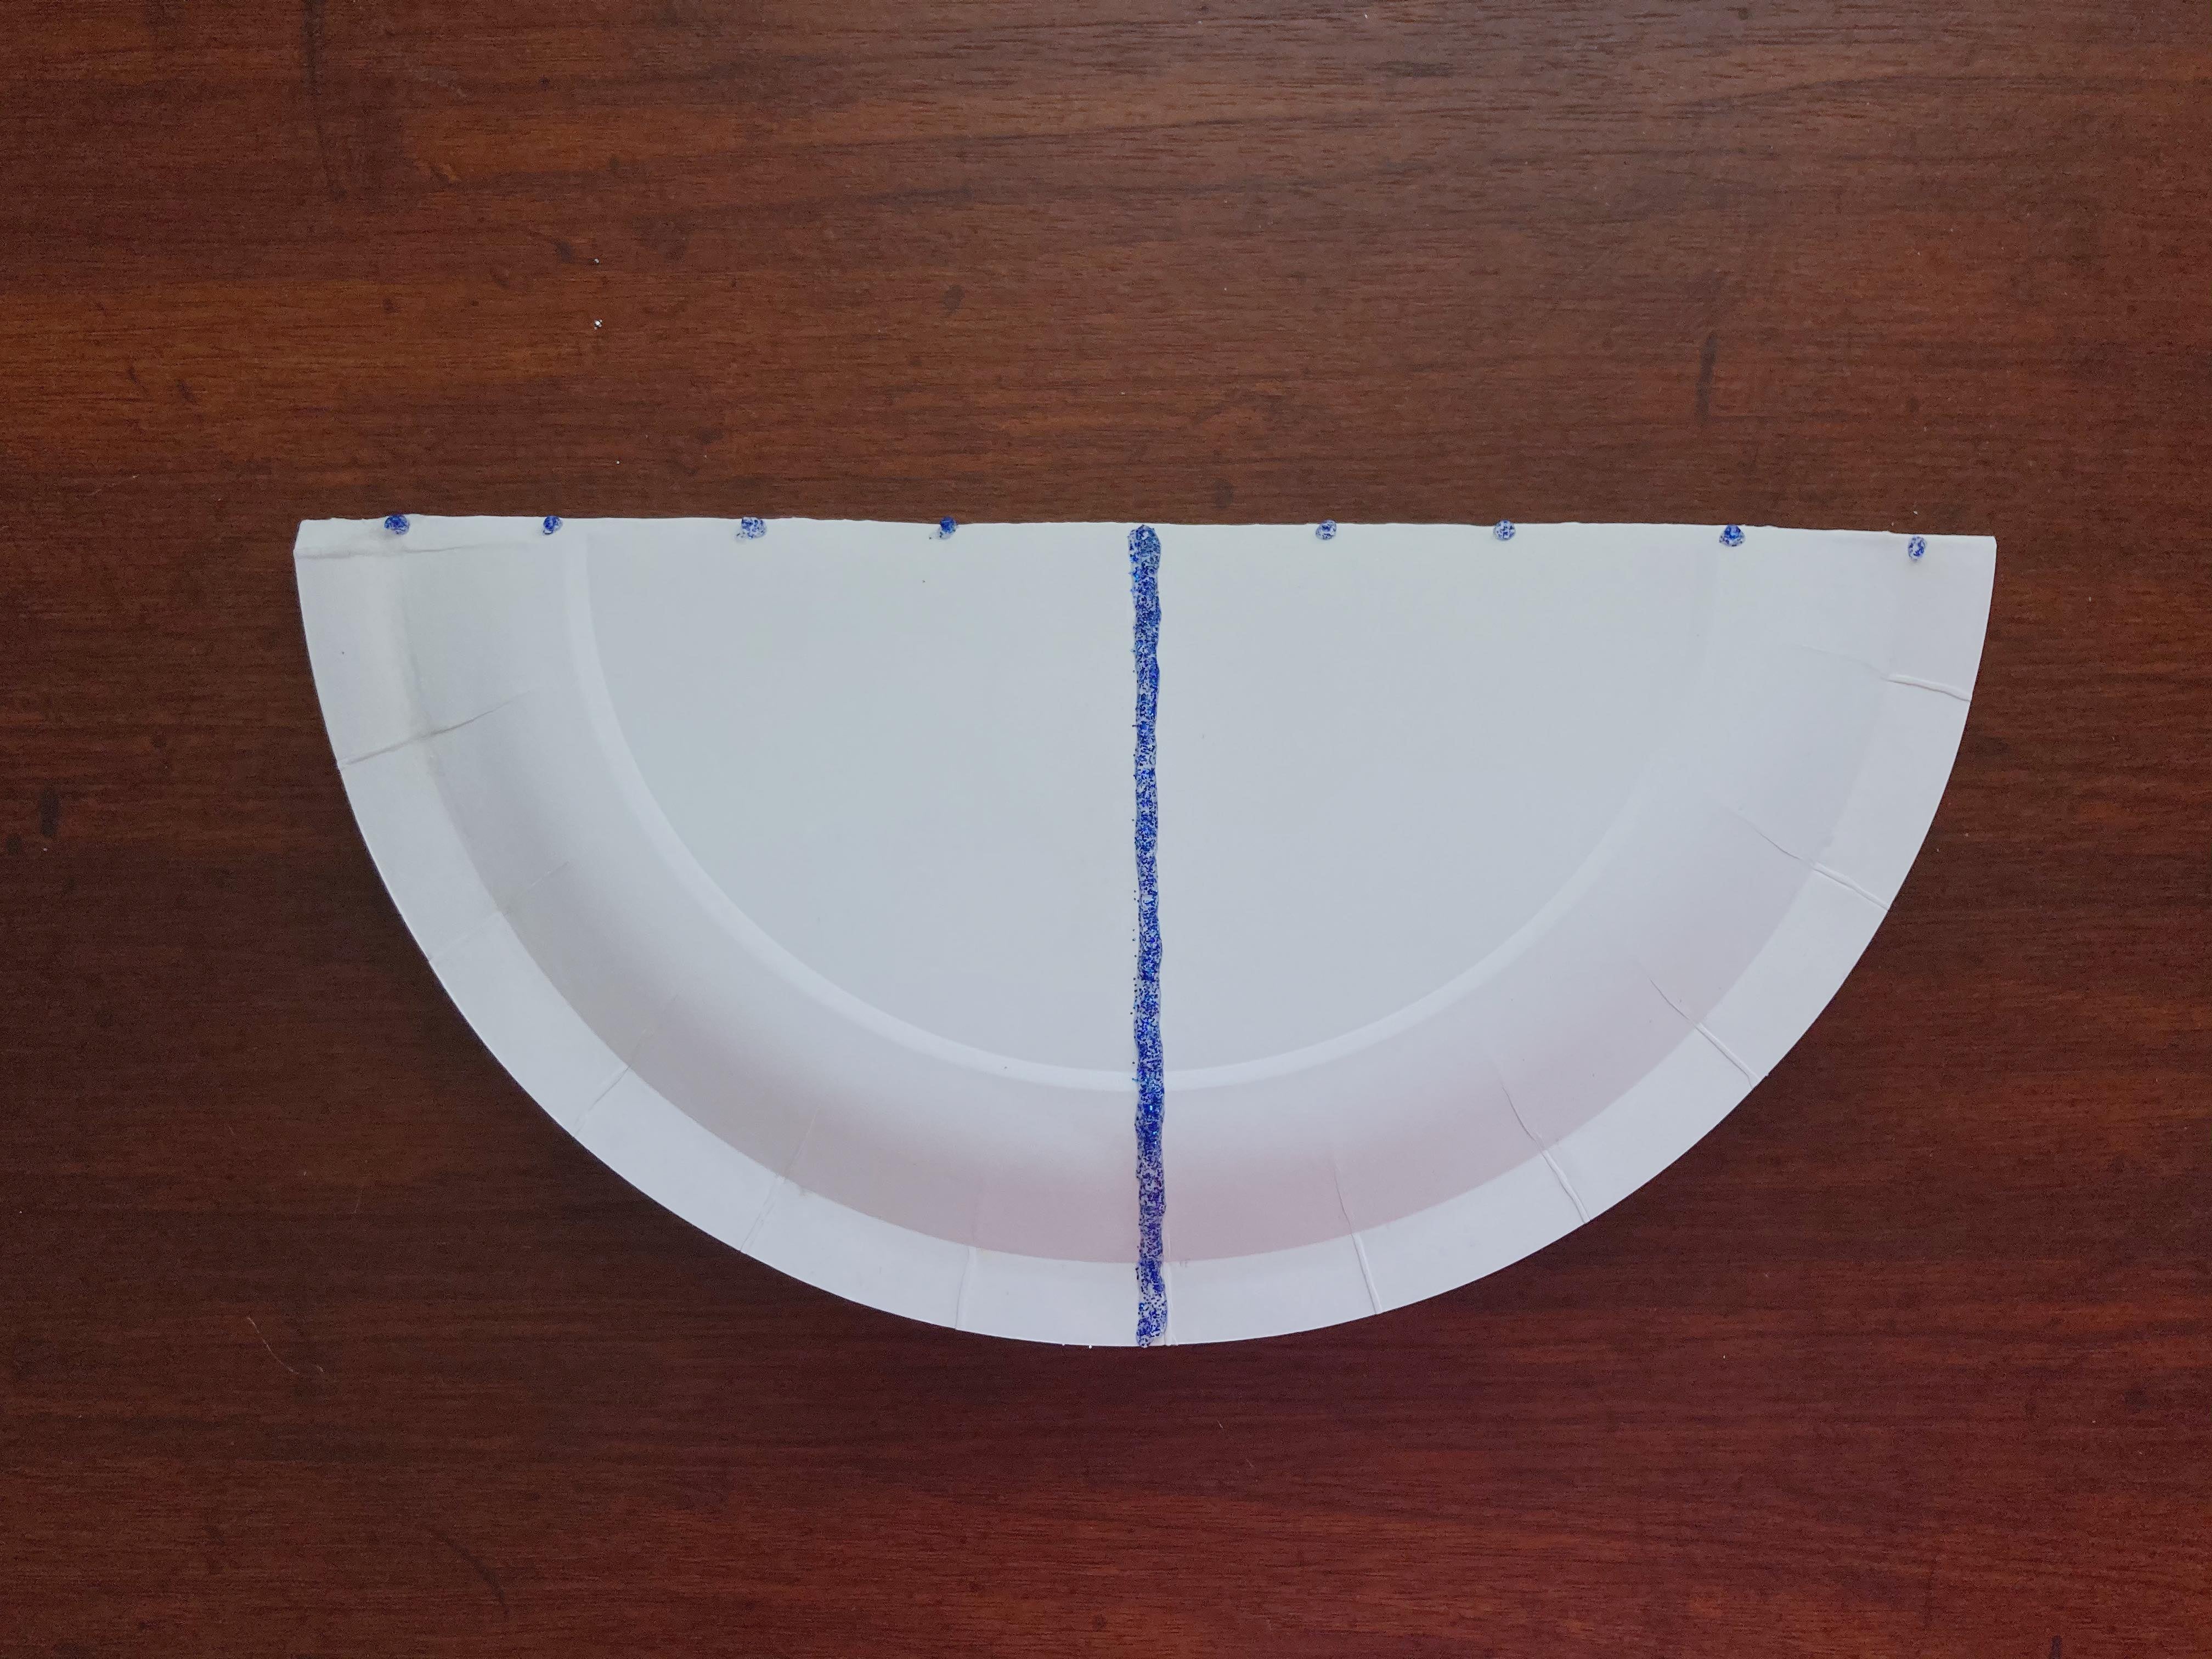
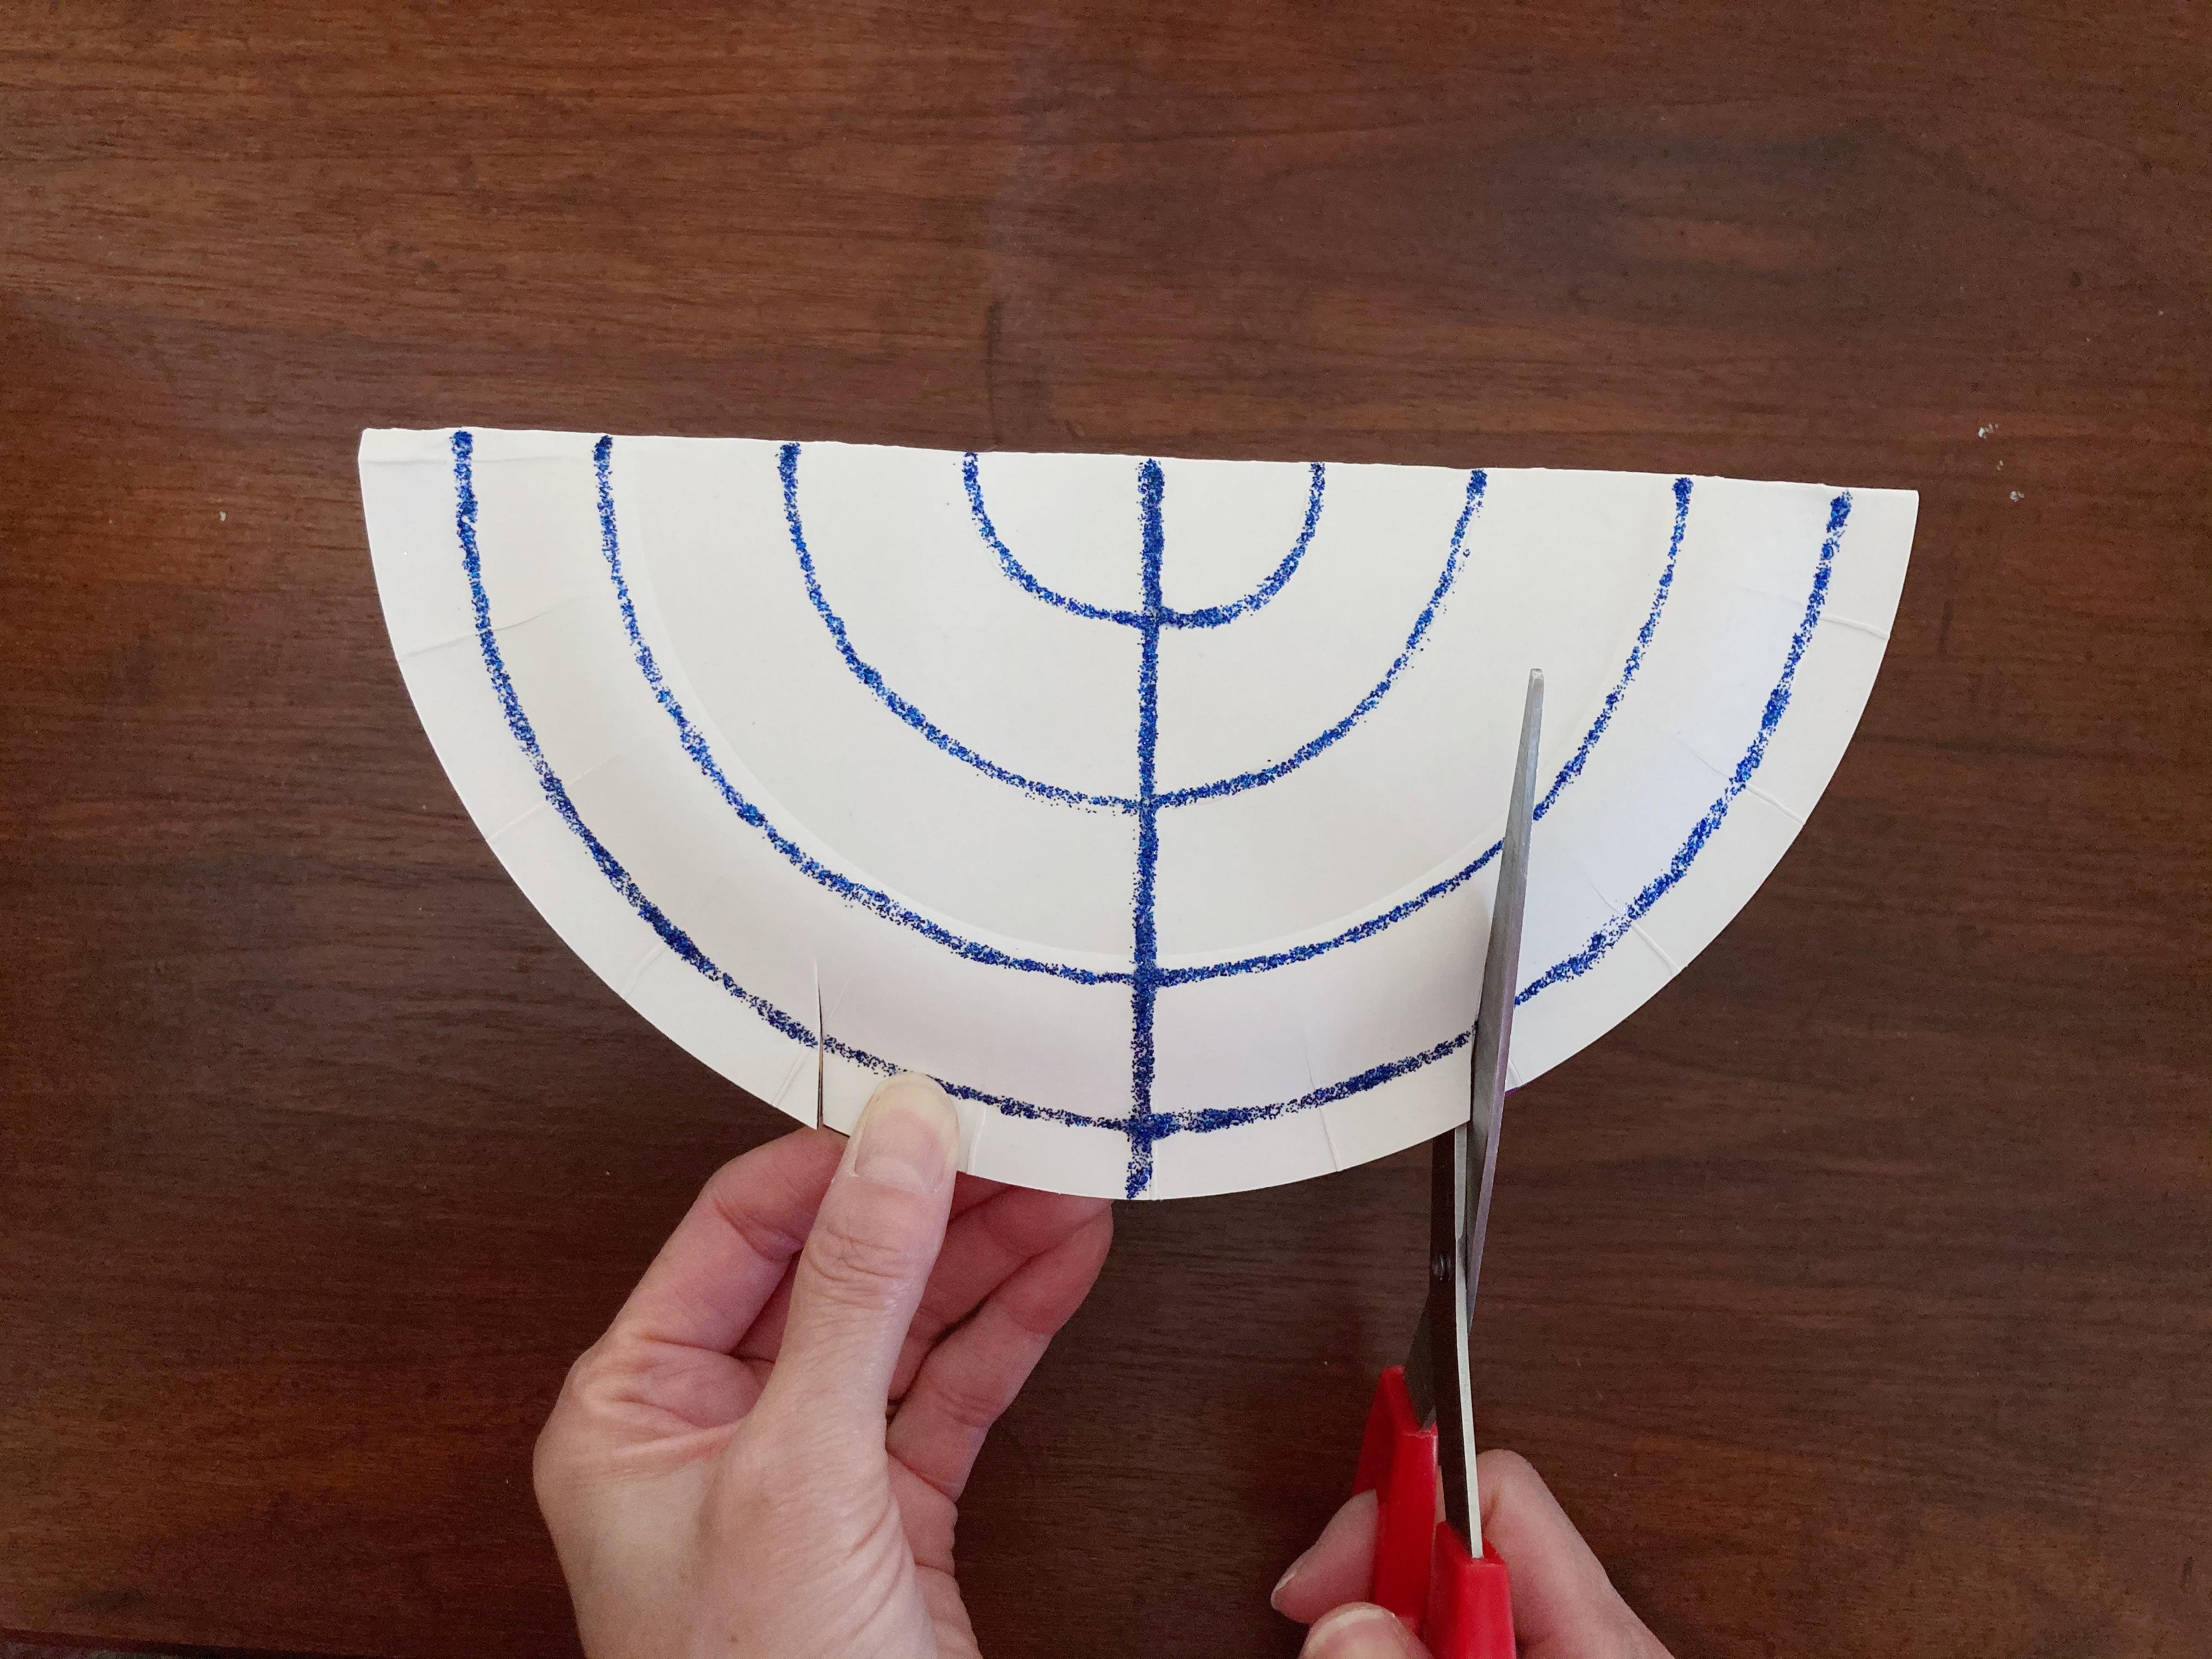
Step 2: Fold the large paper plate in half and crease at the fold. Using blue glitter glue, markers, or colored pencils, draw a line down the middle.
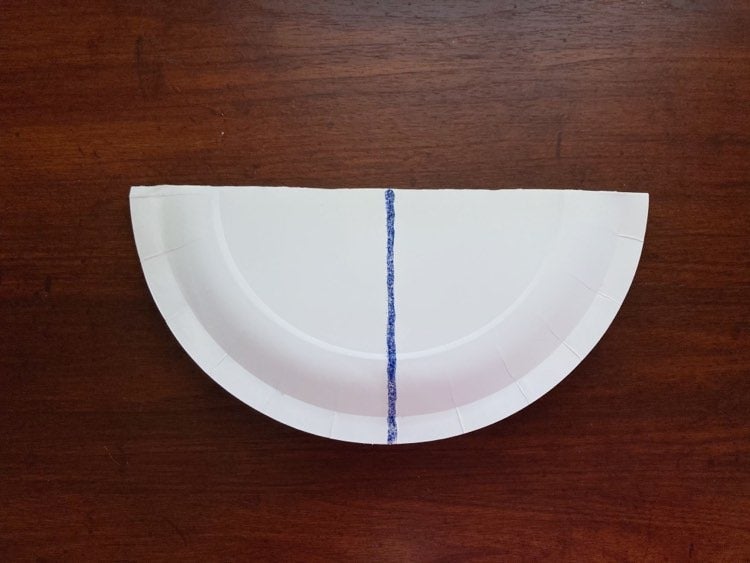
Step 3: On both sides of the vertical line, mark four dots equidistant from each other.
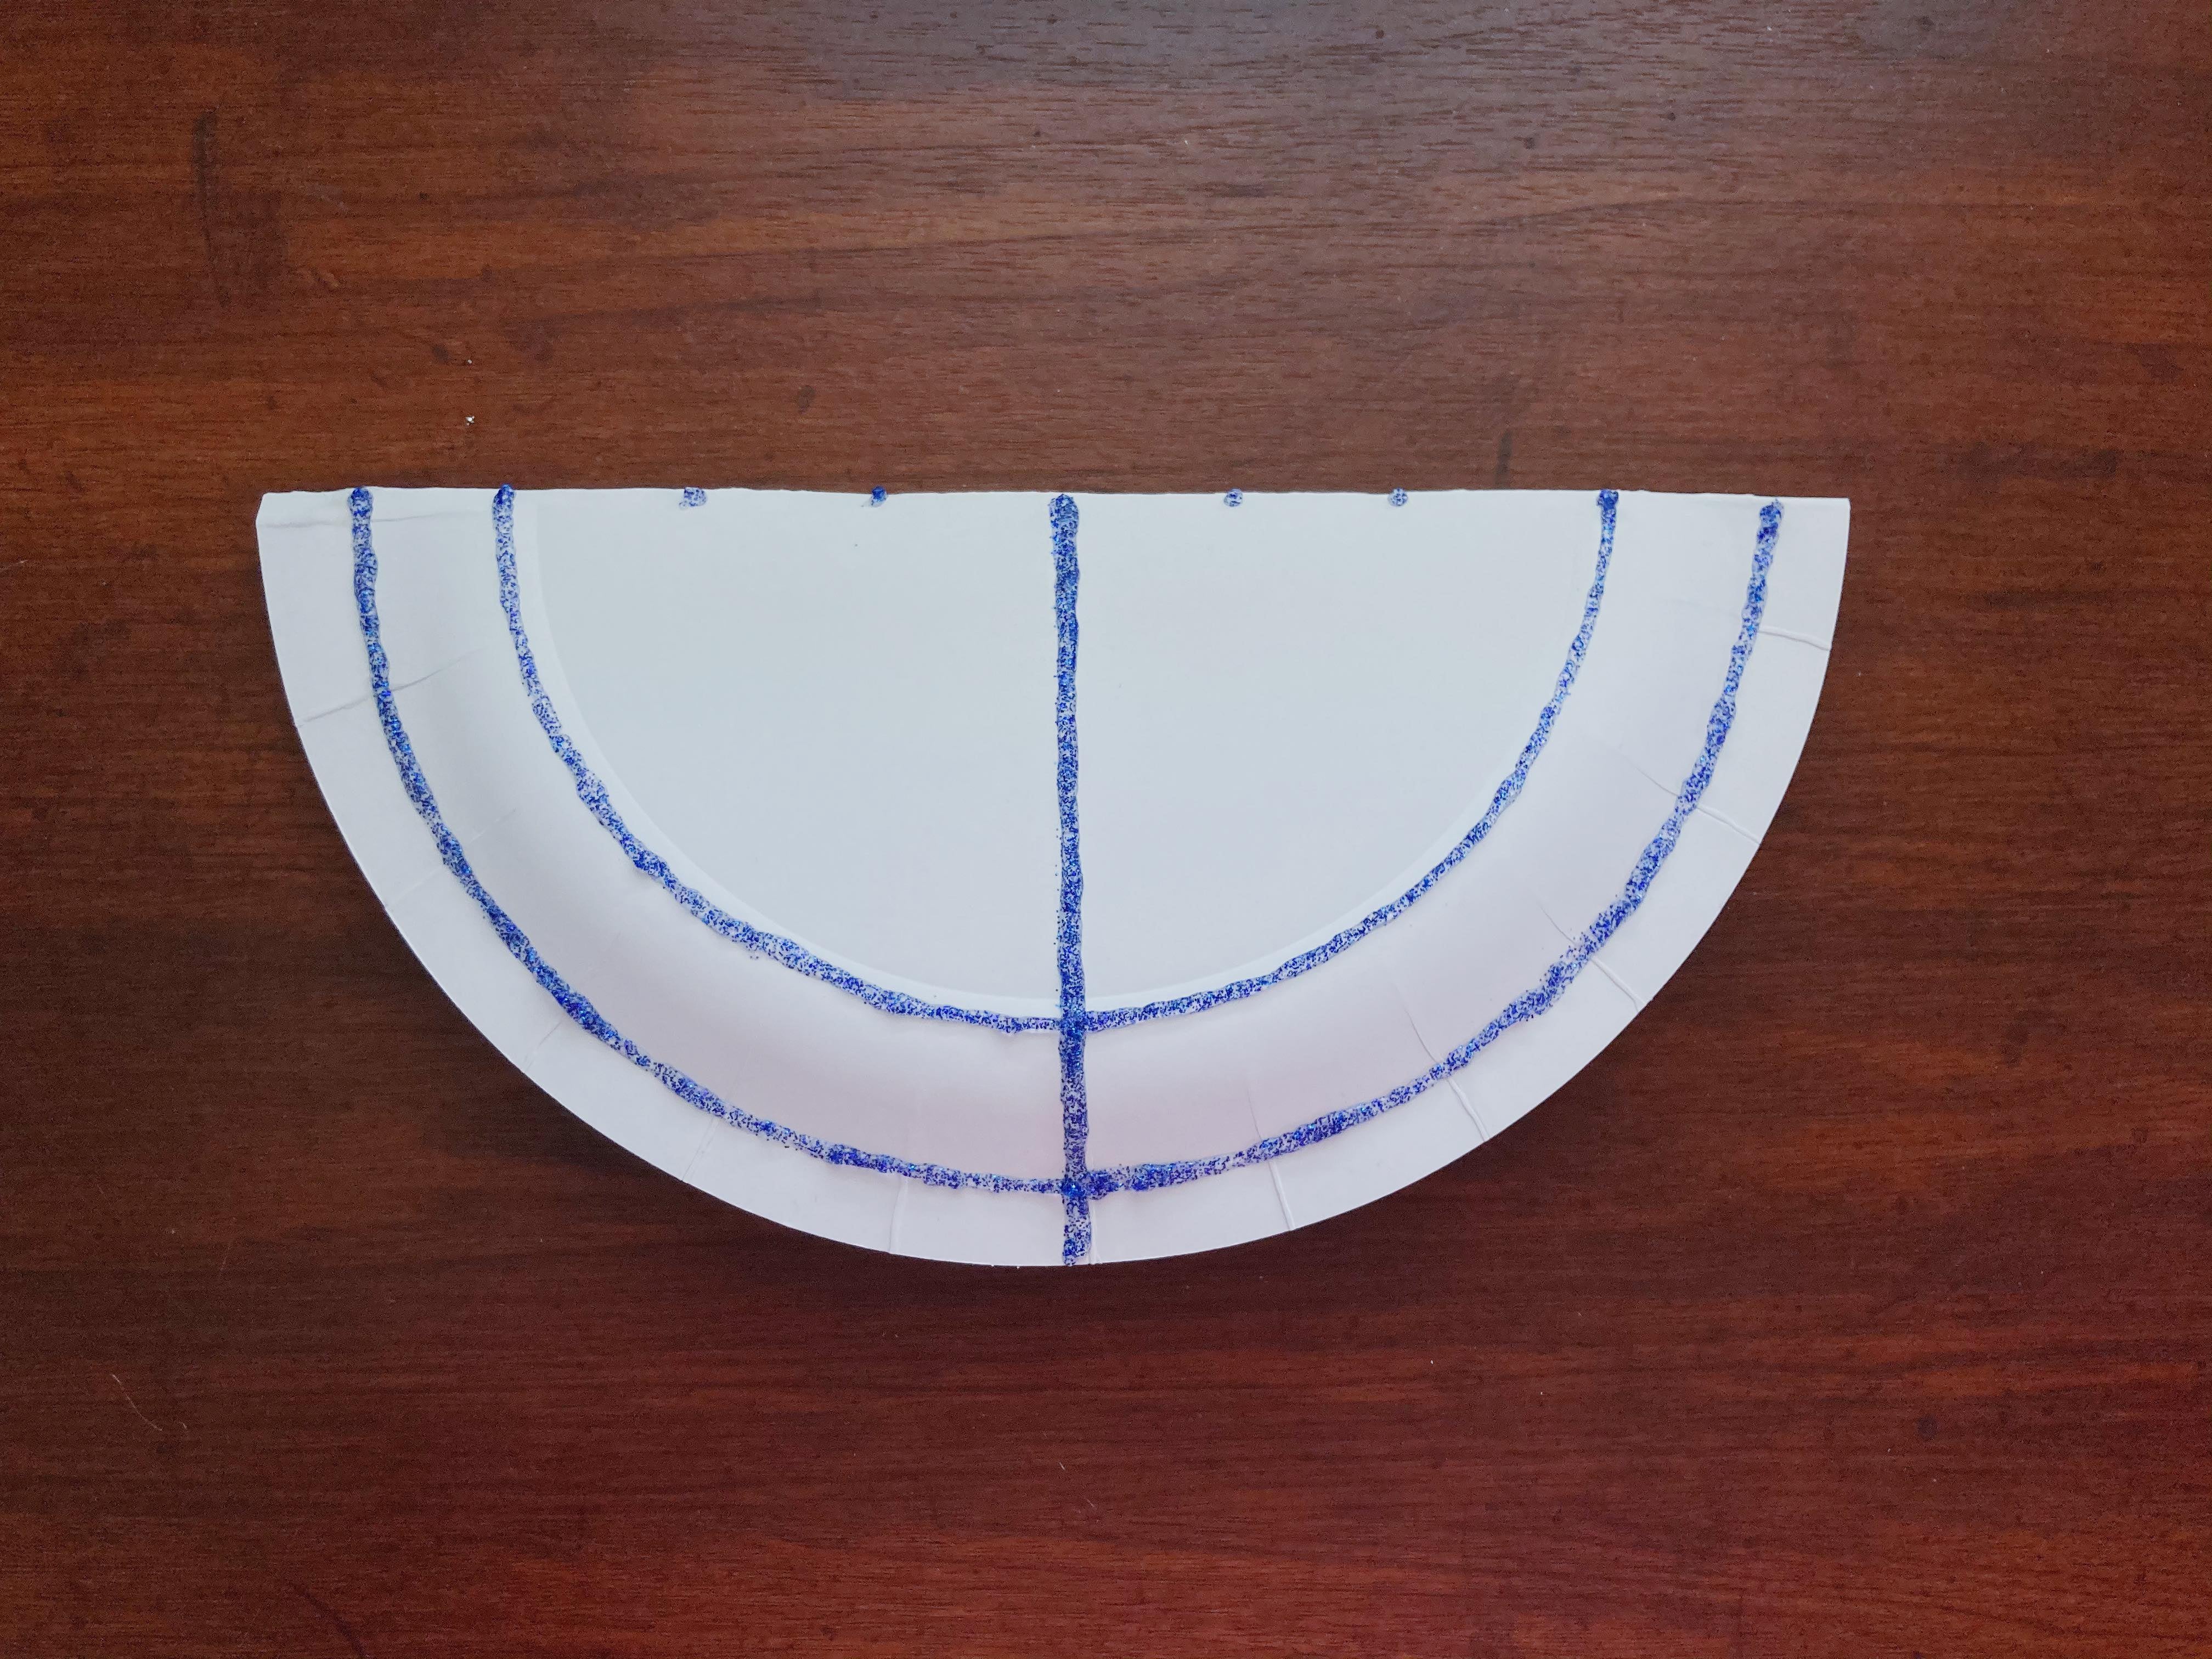
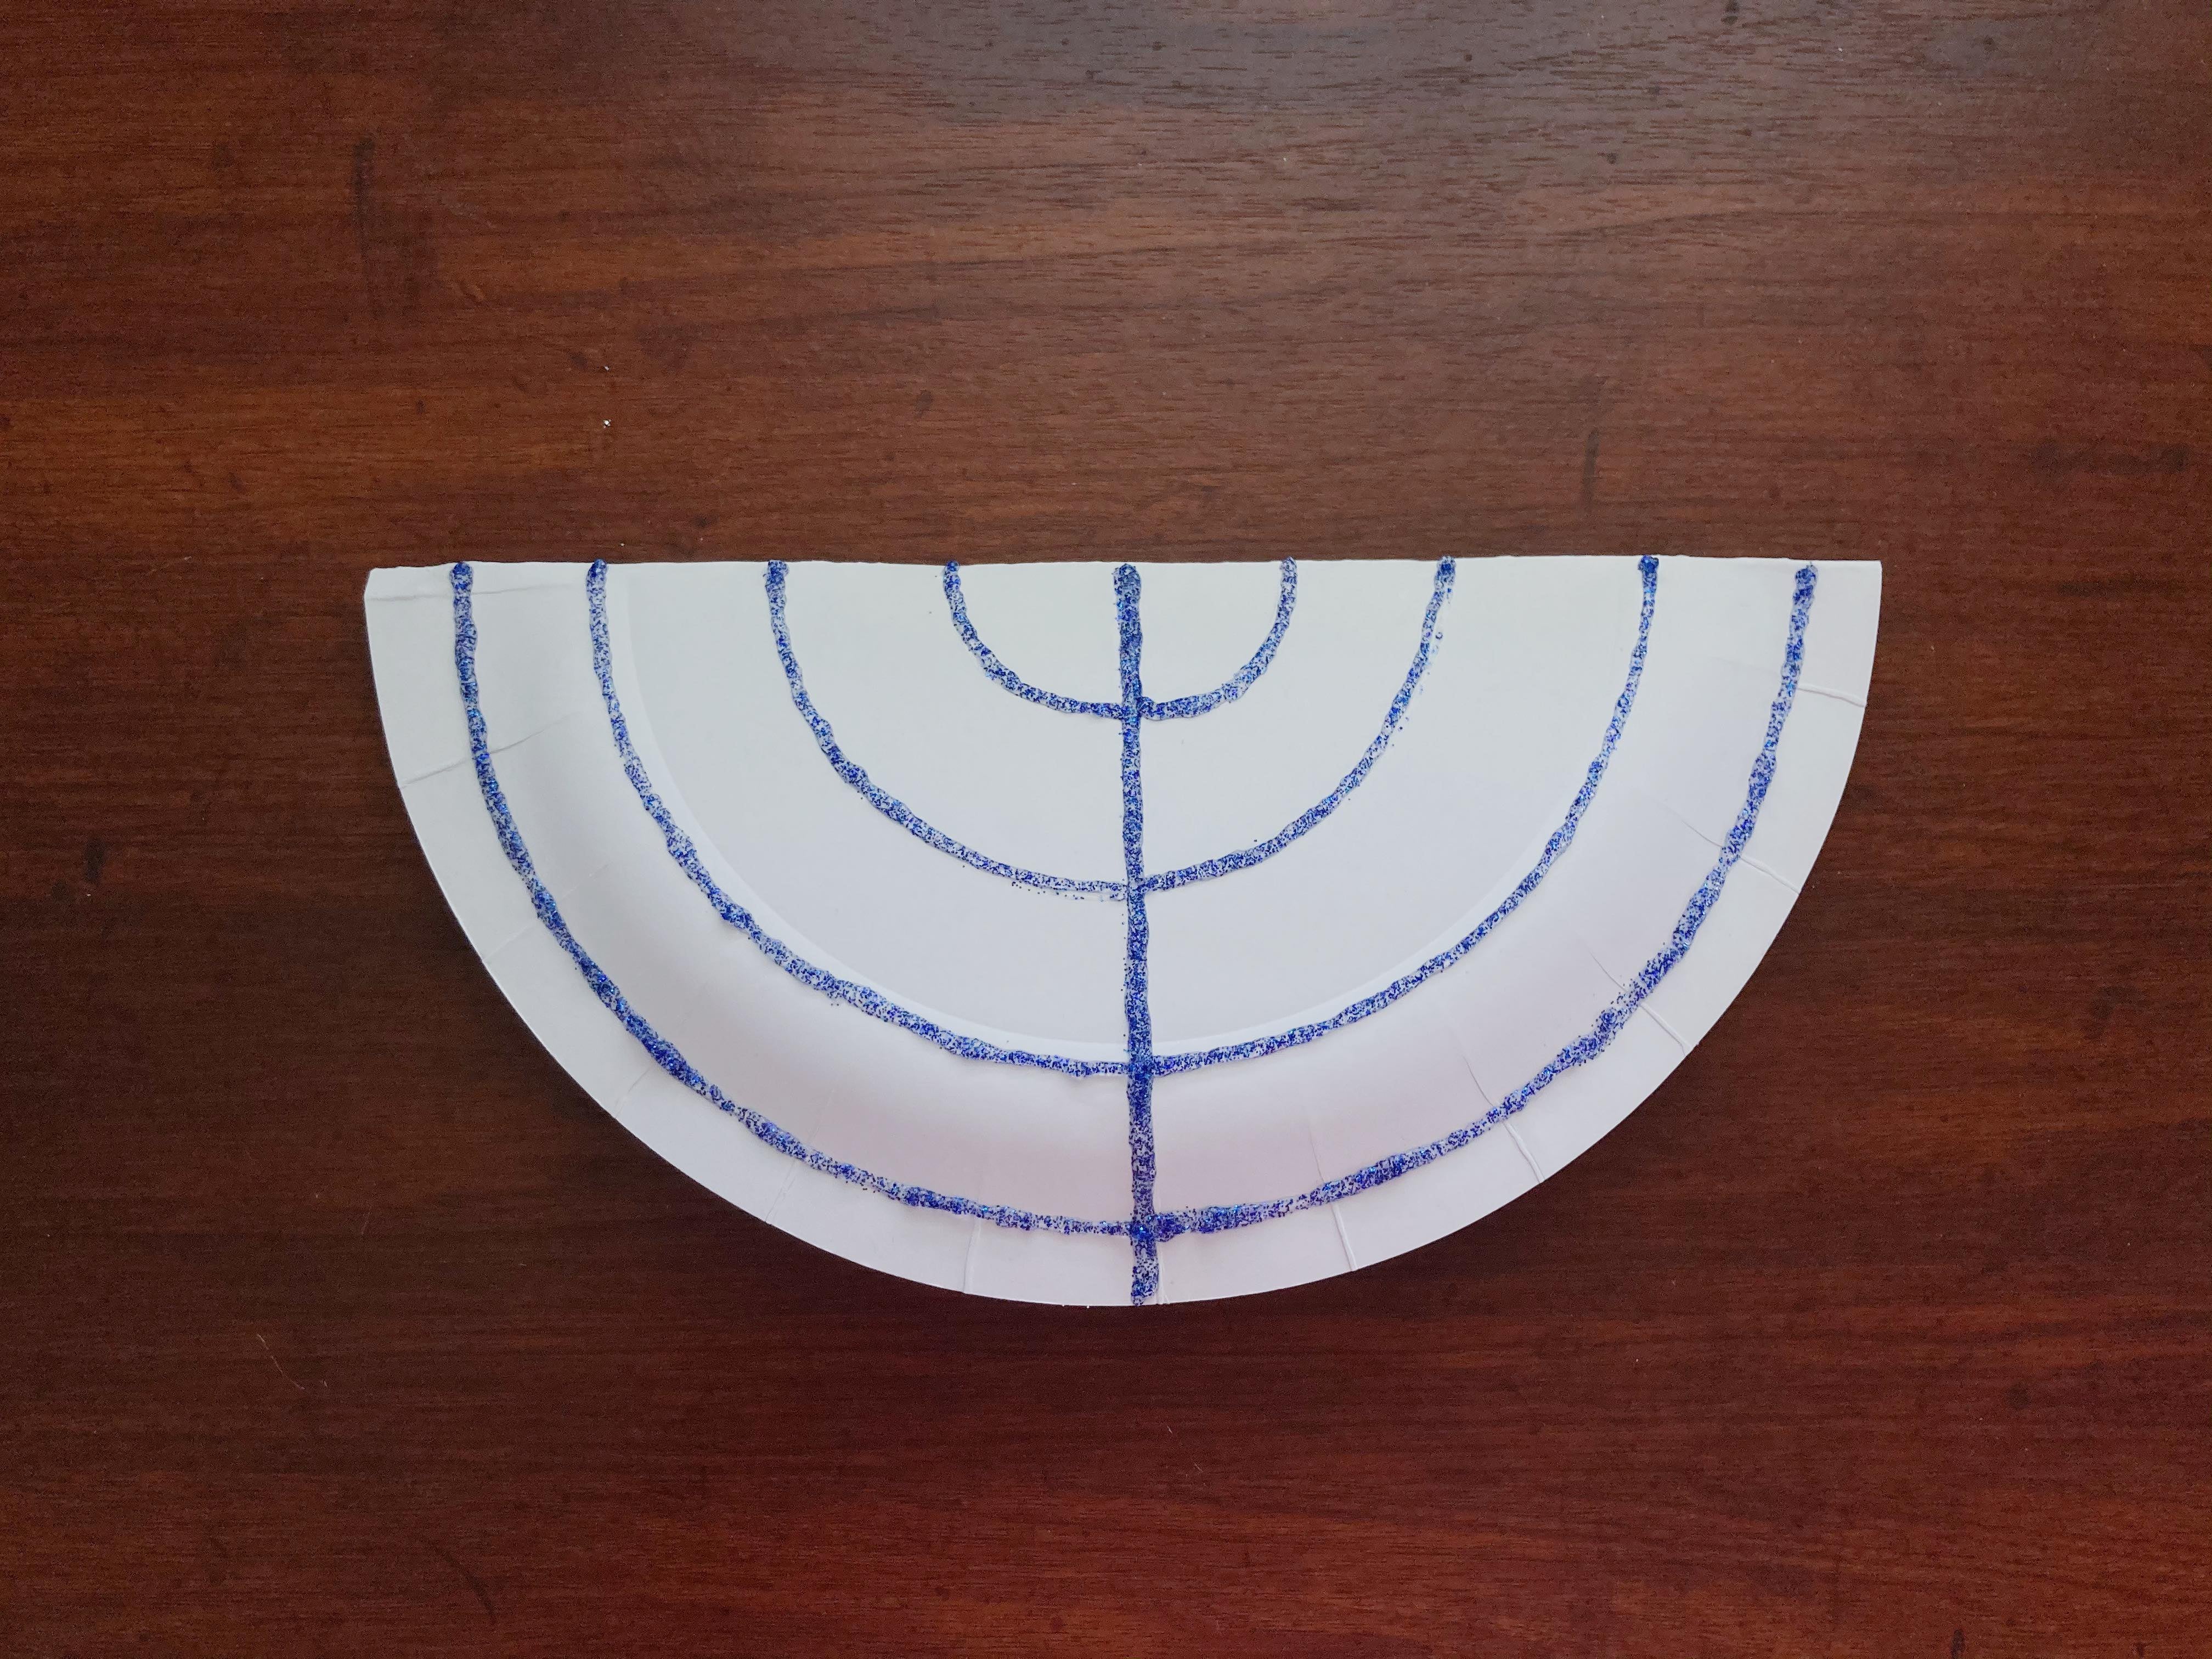
Step 4: Connect the dots on either side with half-circles. Set aside. *Tip: Use a pencil to sketch lines before using paint/markers.
Step 5: When your clothespins are dry, decorate them with silver glitter glue, markers, or paint. Allow them to dry. *Optional: Make one of the clothespins different from the others. This will be the shammash.
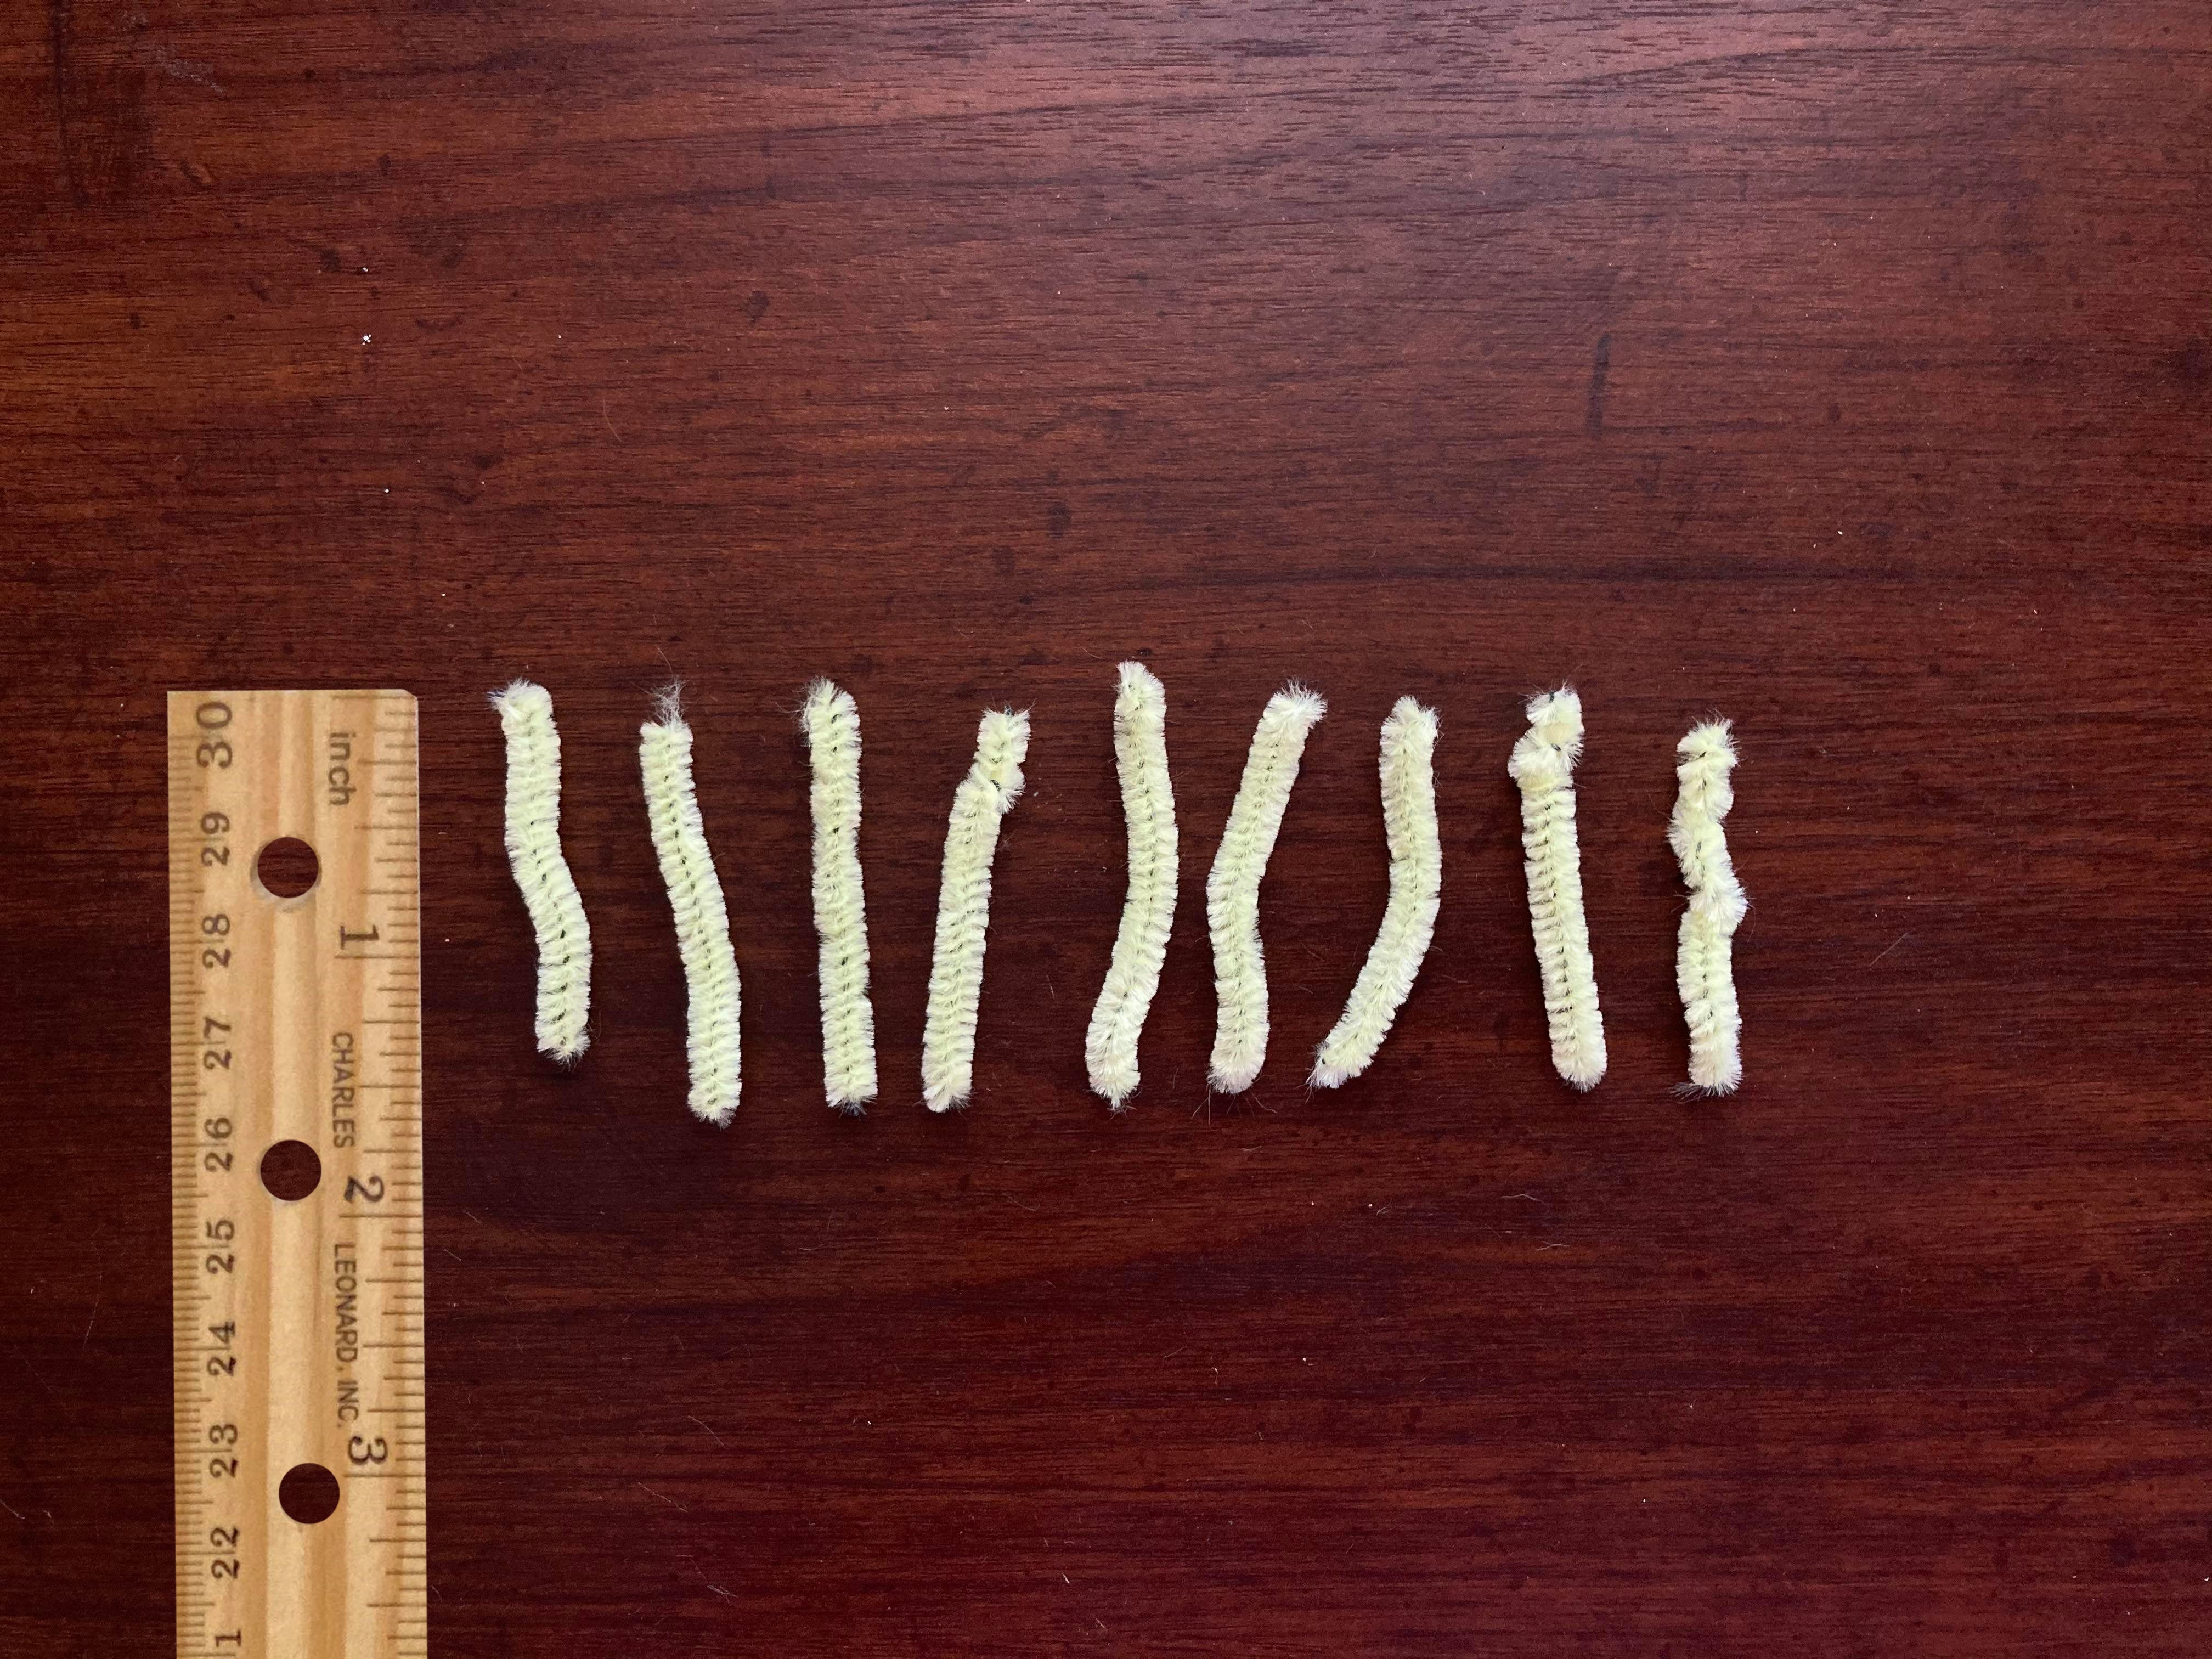
Step 6: Cut your chenille stems into nine even “flame” pieces. Each piece should be around 1½-2 inches long.
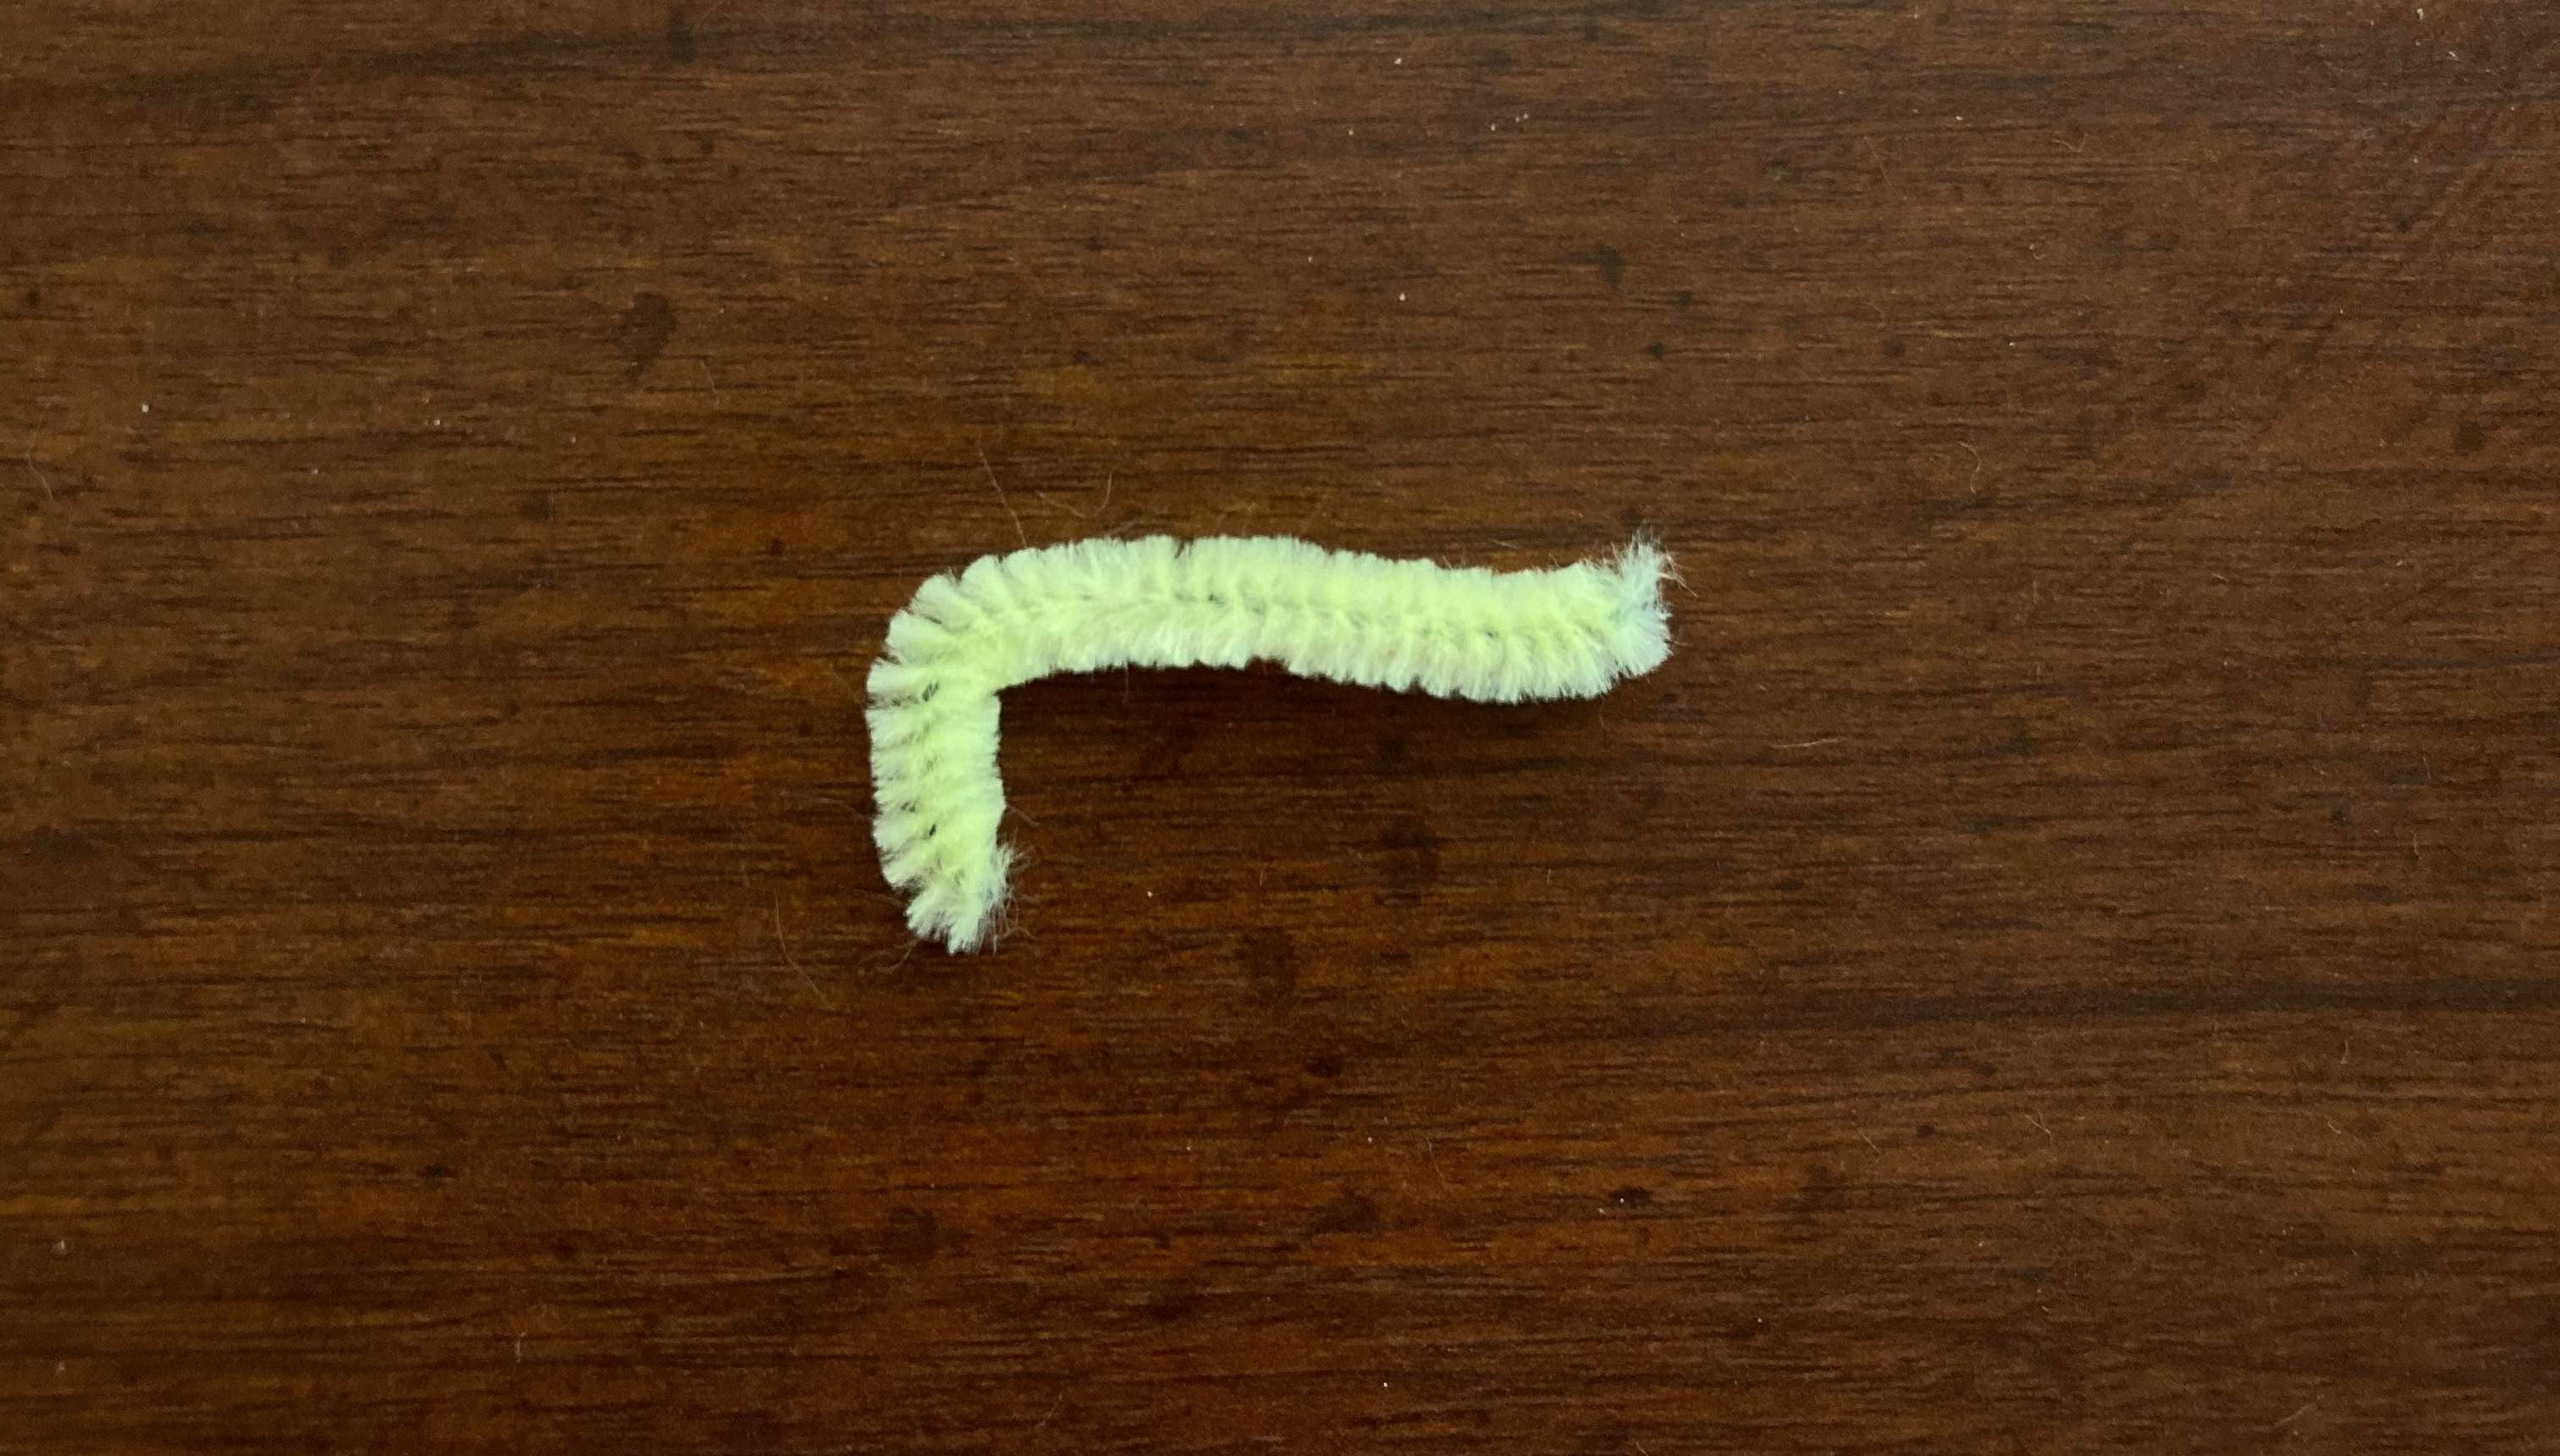
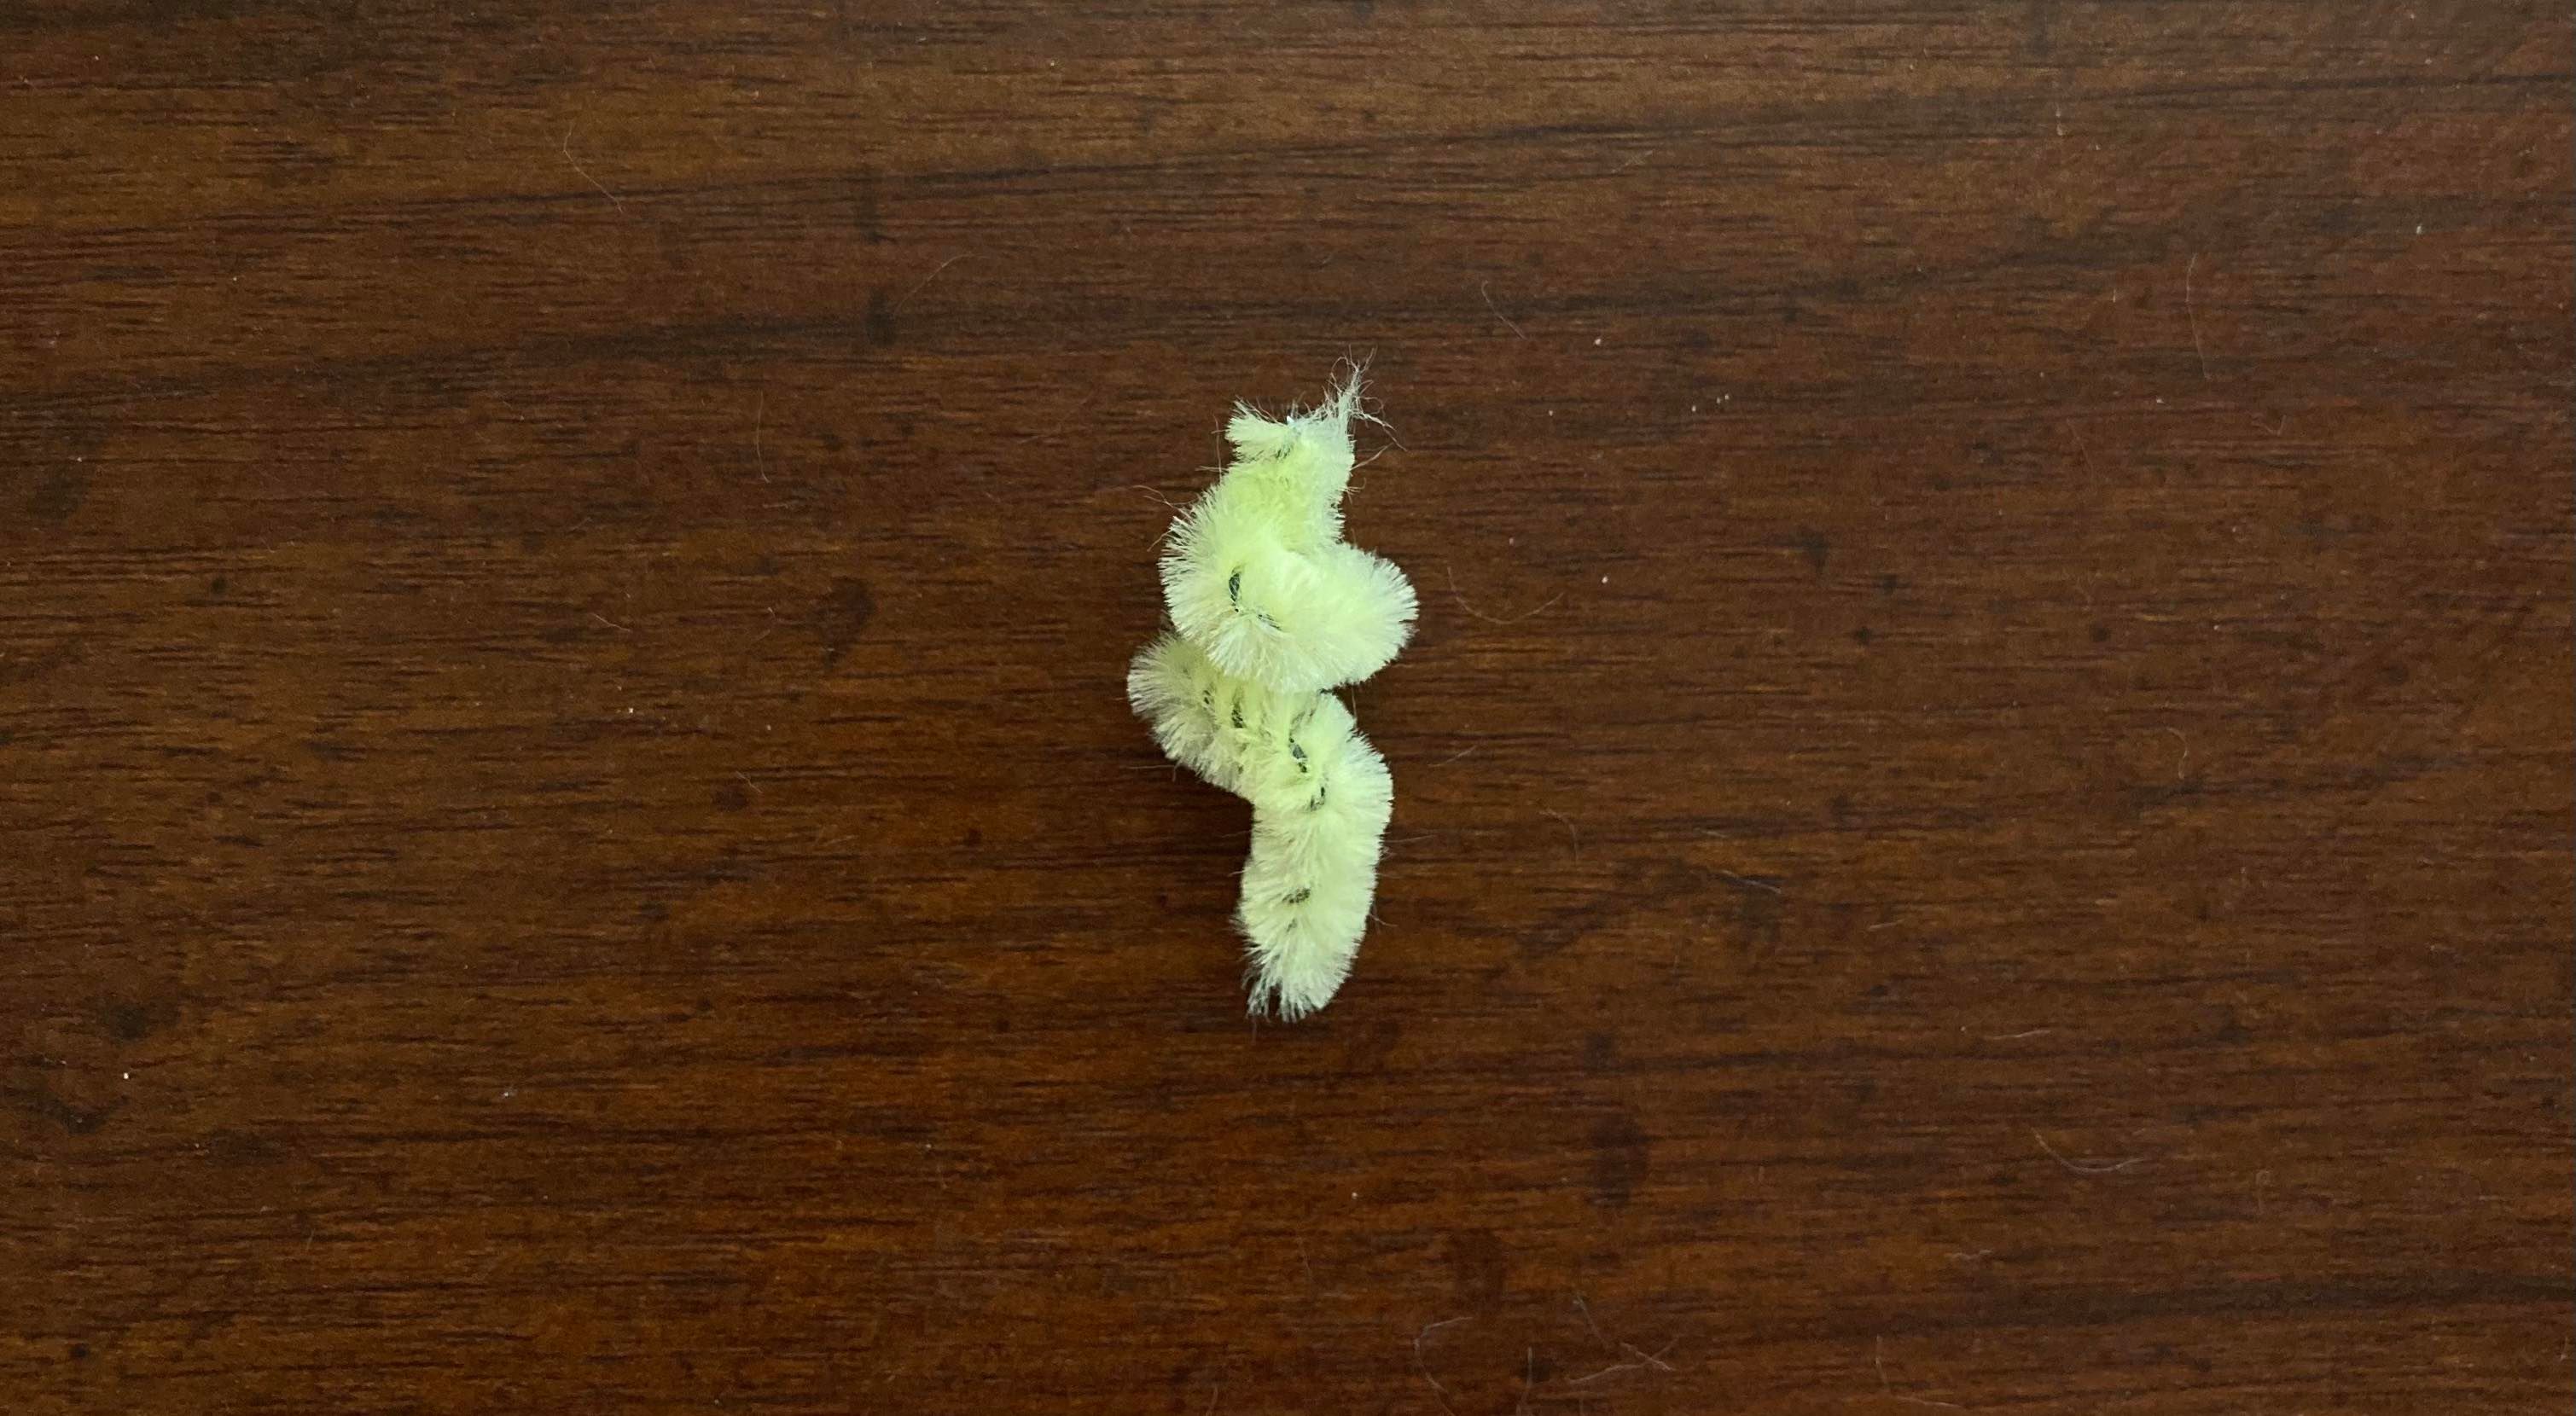
Step 7: For each flame piece, bend one quarter downward at a 90-degree angle. Twist the longer end into a spiral shape.
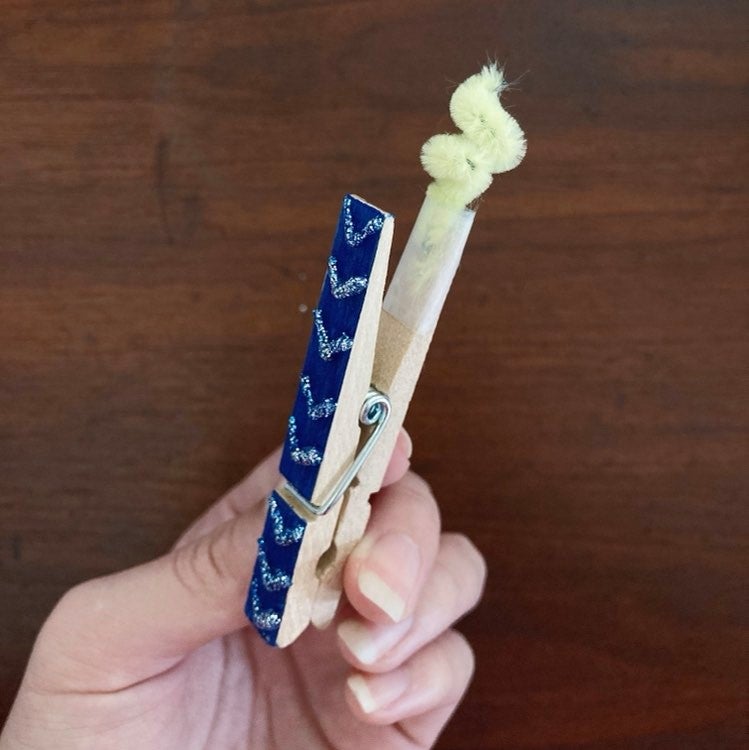
Step 8: Tape a flame to the inside back of each clothespin. Your candles are ready!
Step 9: When your paper plate is dry, cut slits on either side of the plate. The slits should be 1½-2 inches deep.
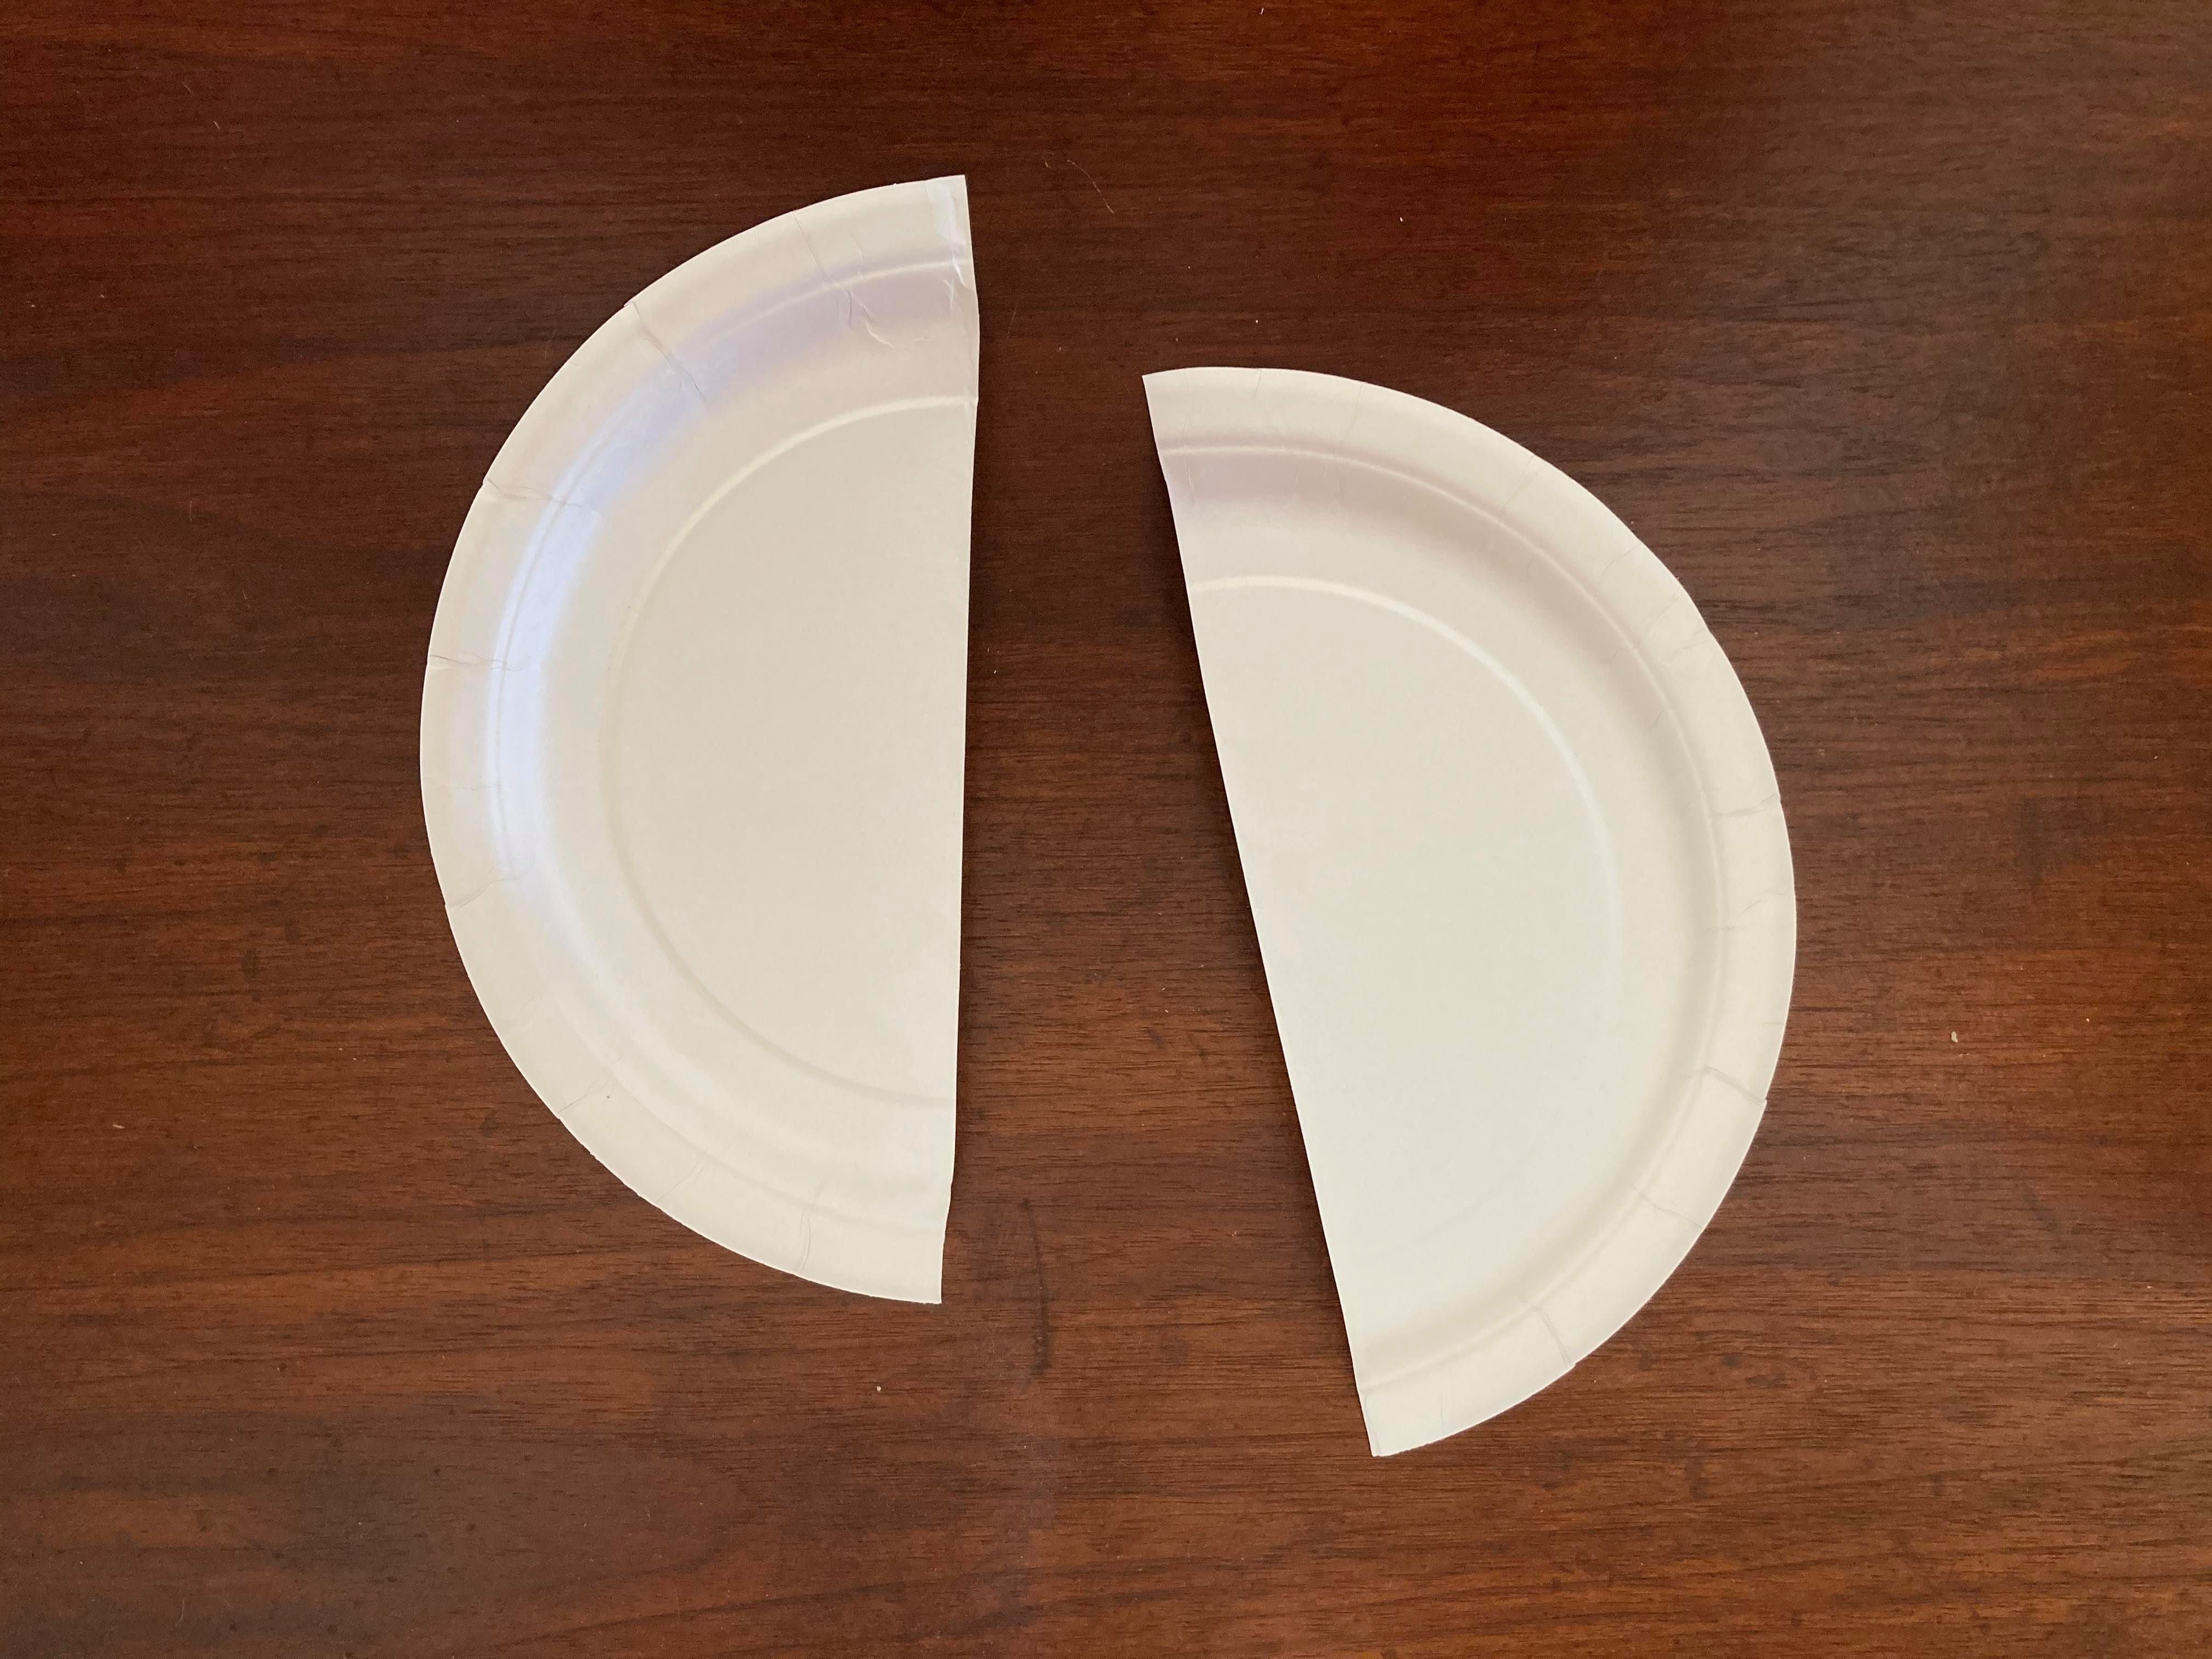
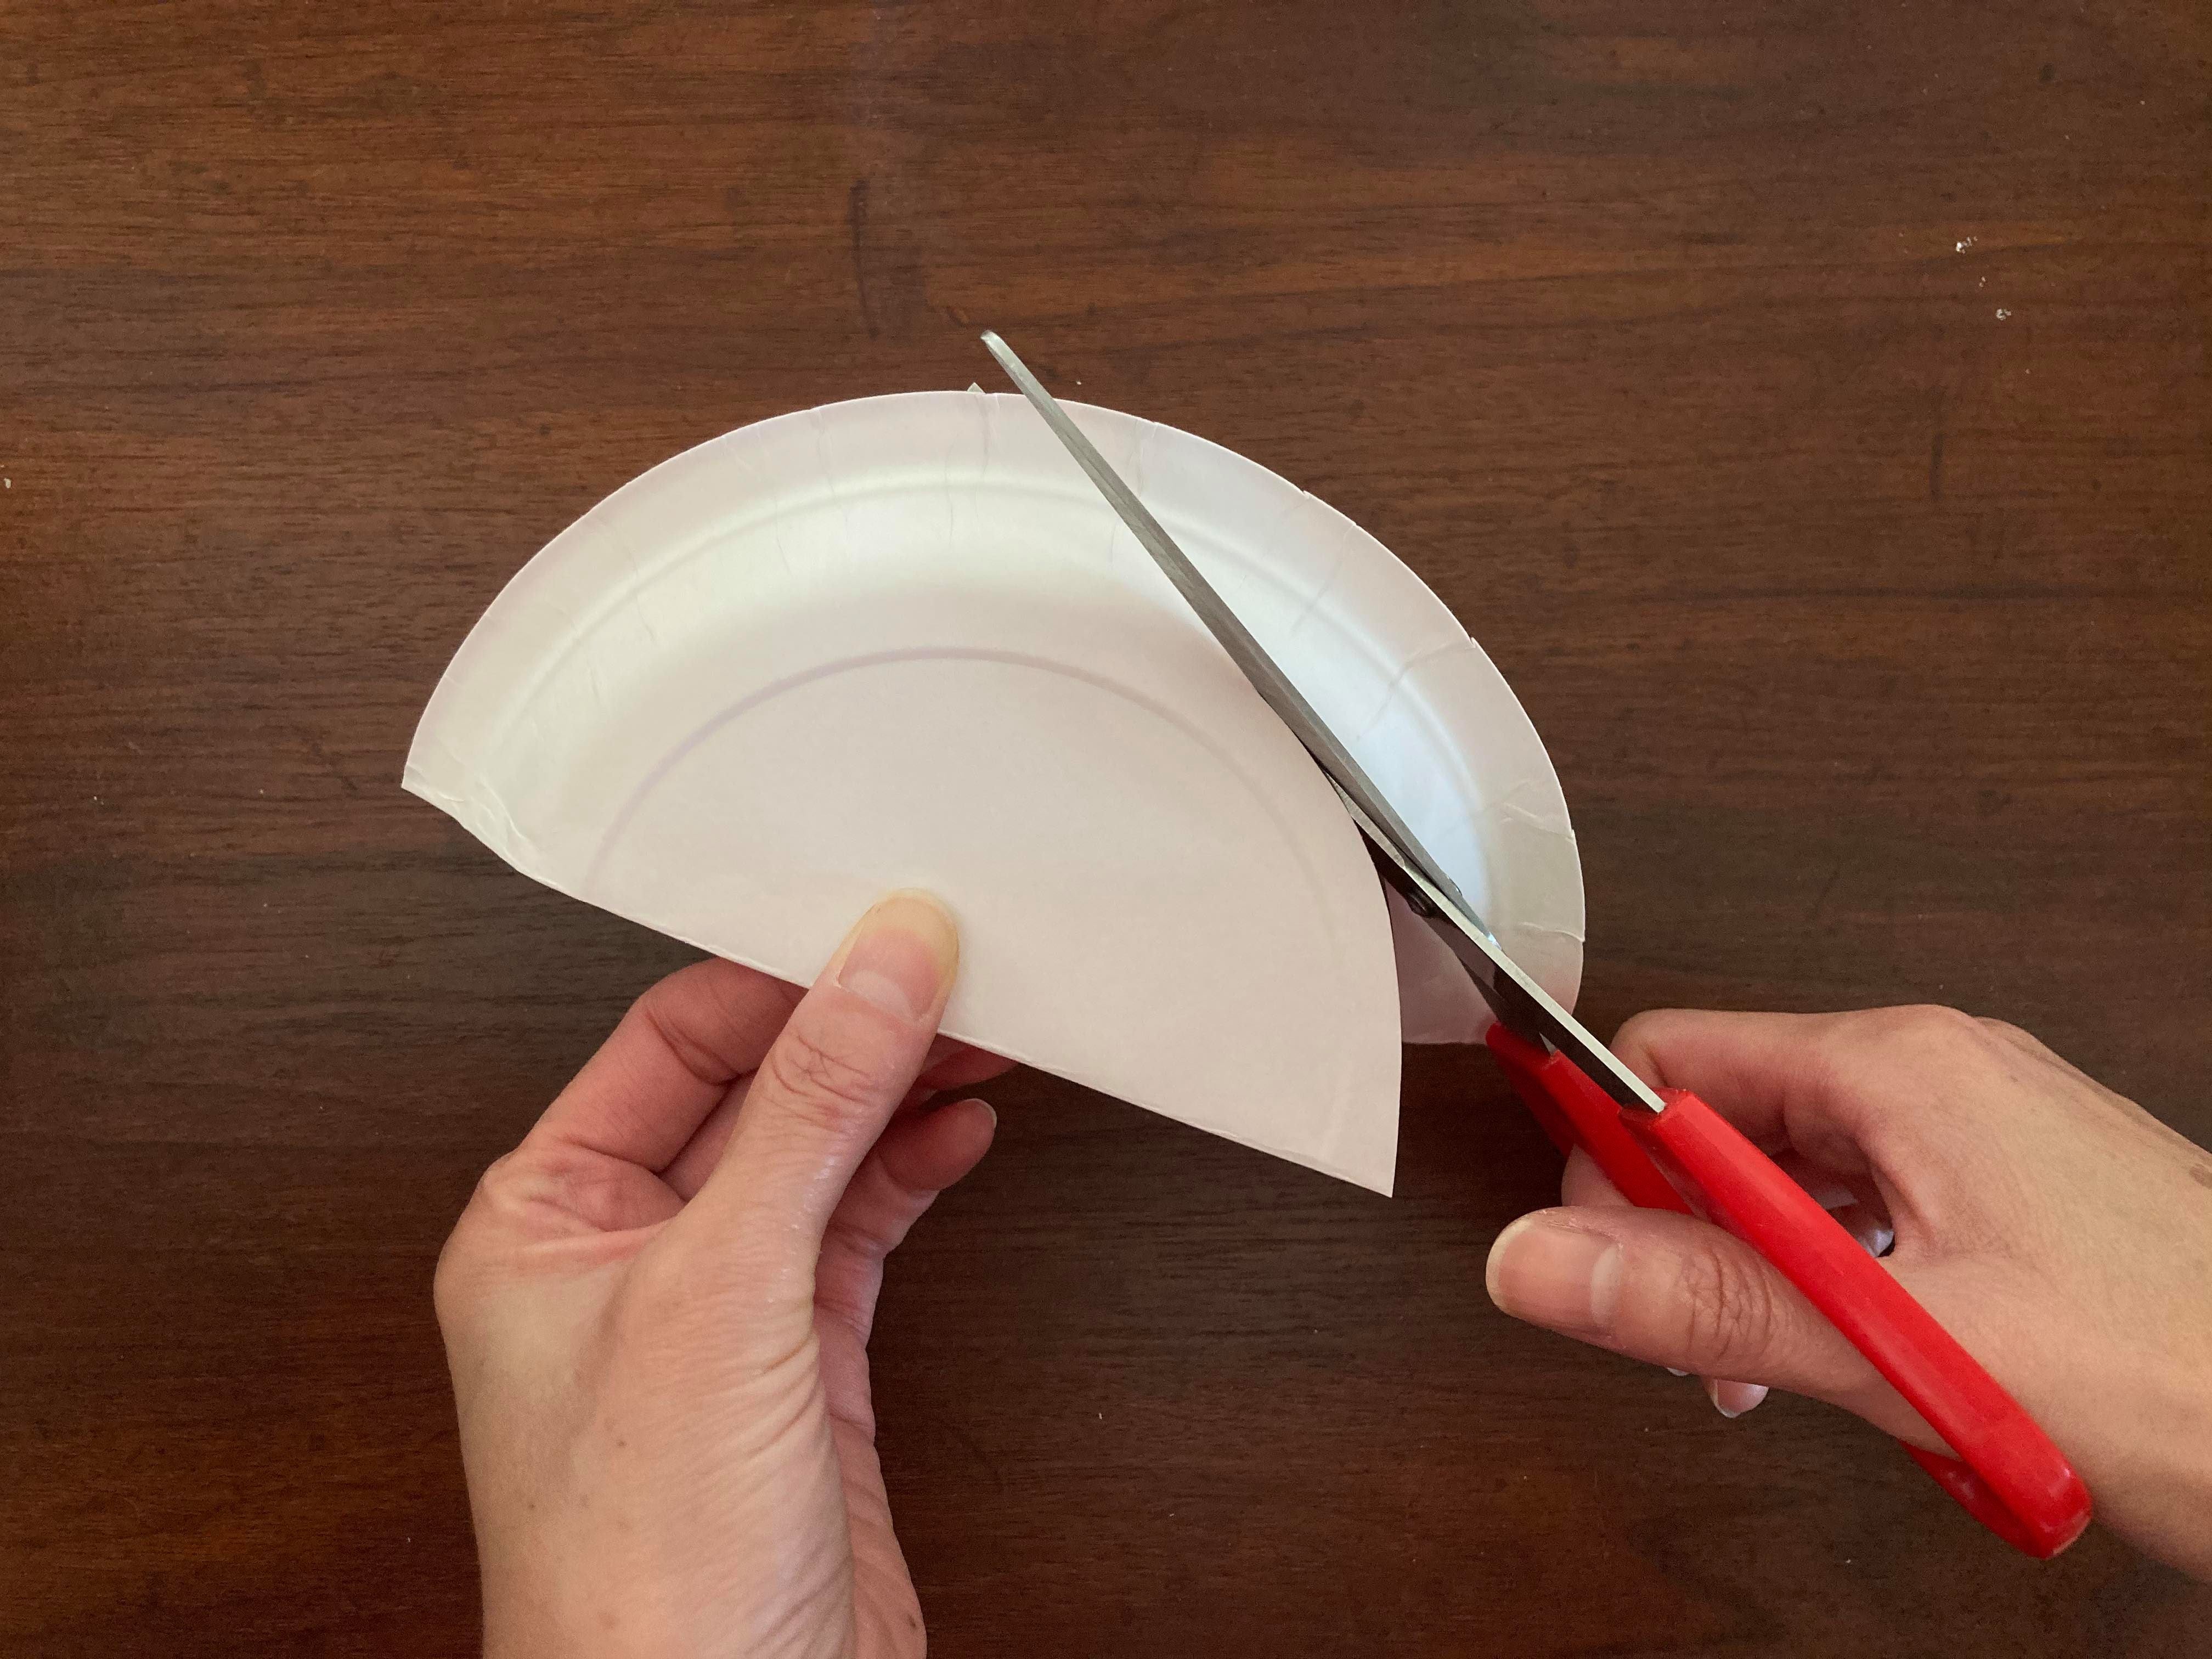
Step 10: Fold the small plate in half. Using the crease line as a guide, cut plate in half.
Step 11: Cut off the raised edges of the plate halves. Cut a one-inch slit on the curved side of each half.
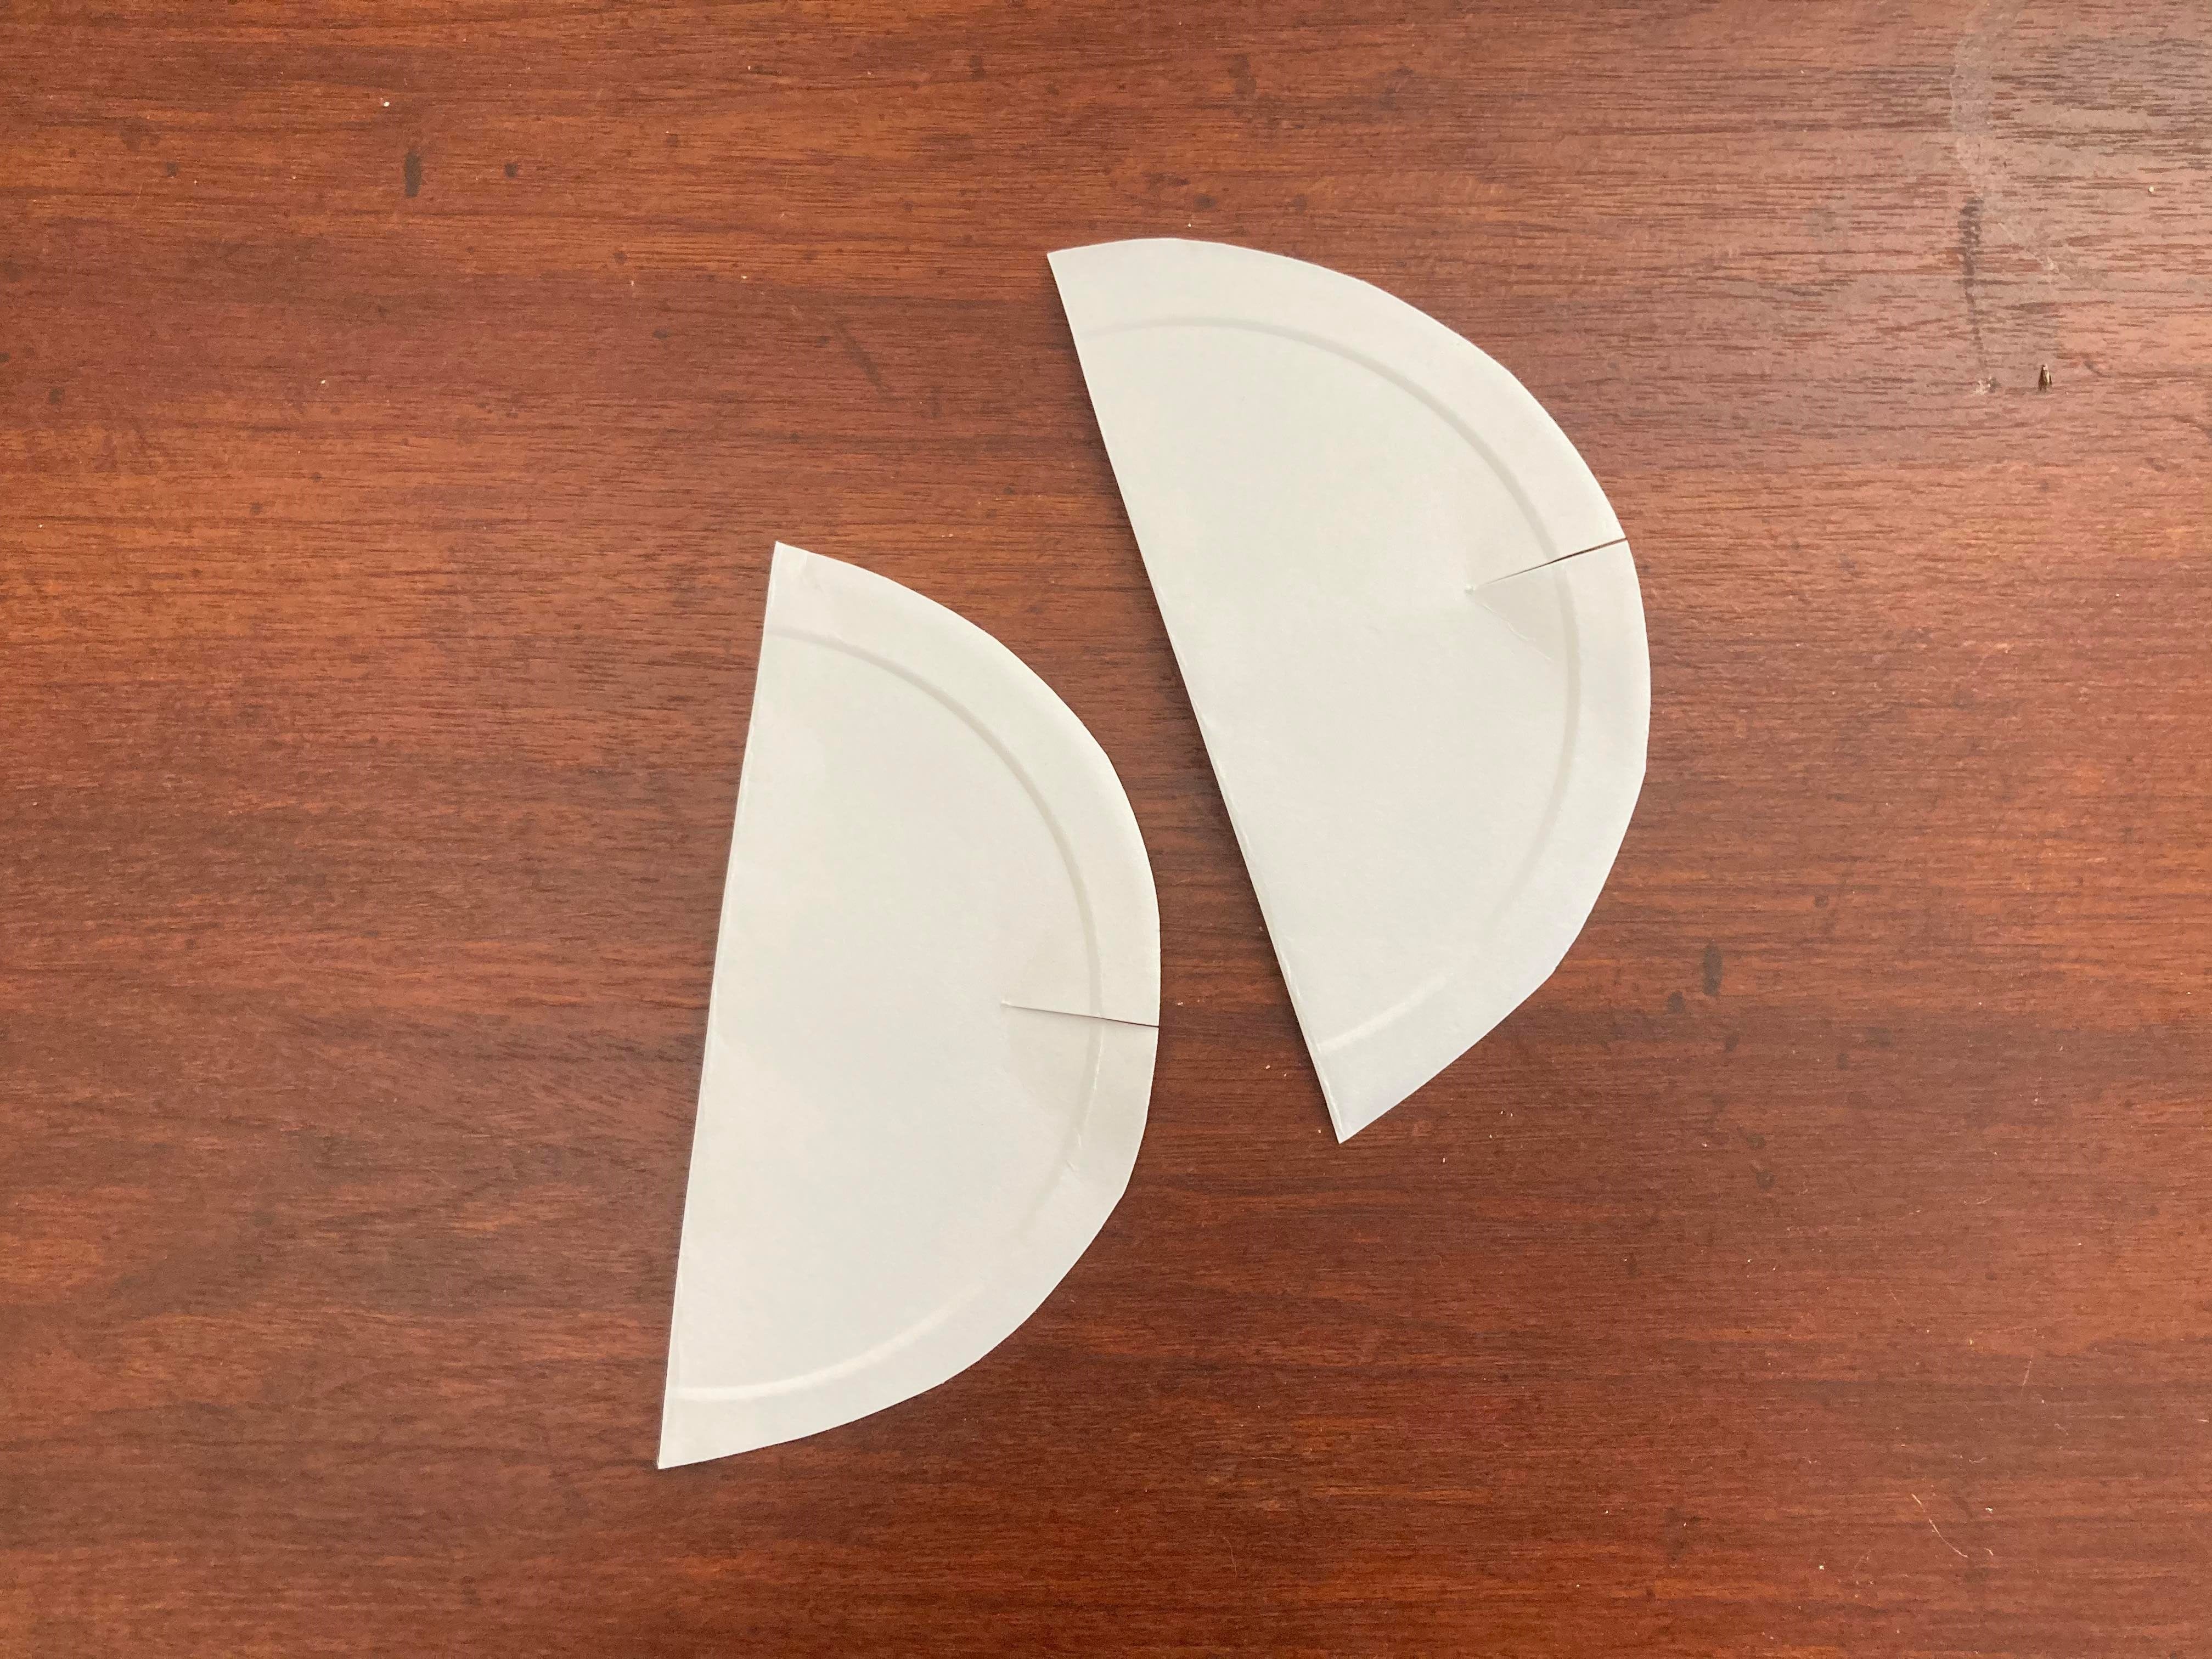
Step 12: Insert the stands into your menorah so that the slits interlock. If you need to make your base sturdier, use a second small plate to double up.

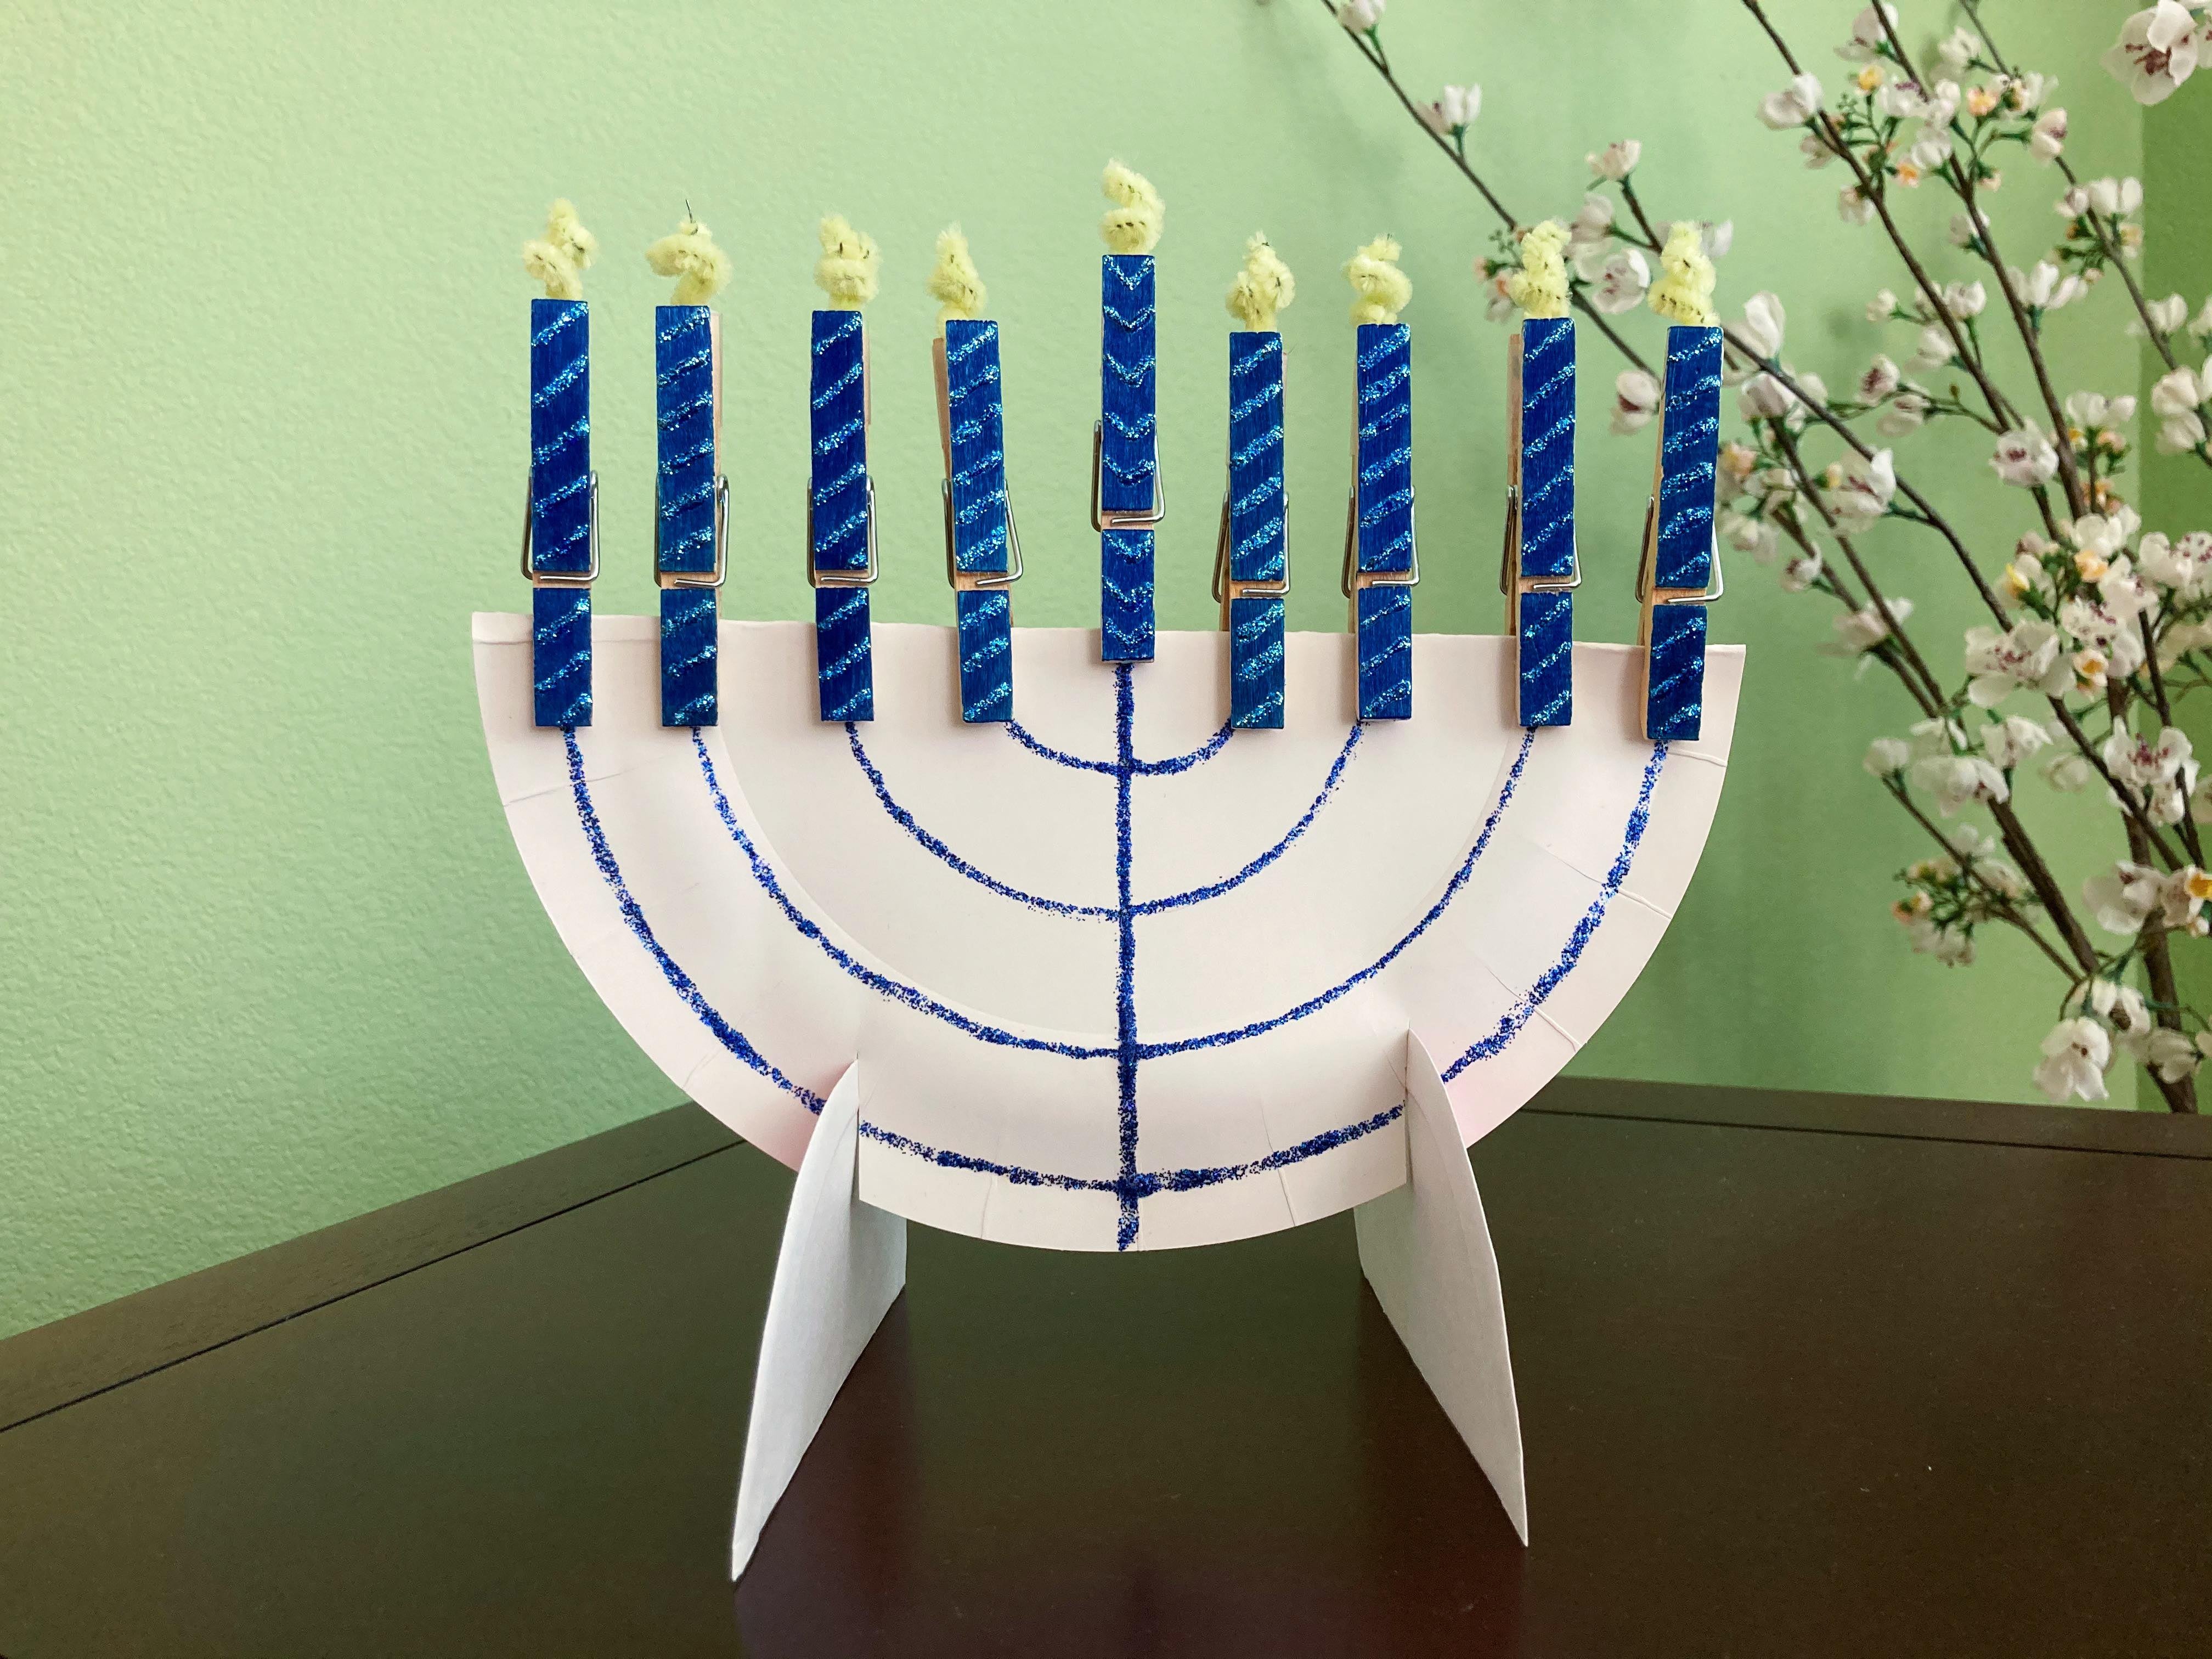
Step 13: Your menorah is ready! Add your candles from right to left. On the first night of Hanukkah, add a candle to the far right of the menorah. With each day, add another candle to its left. Remember that the shammash always sits in the center of the menorah, a little higher or lower than the others. Happy Hanukkah!
If your child loves learning about different cultures and traditions, check out our World Edition subscription, which highlights a different country every month! Shop here!